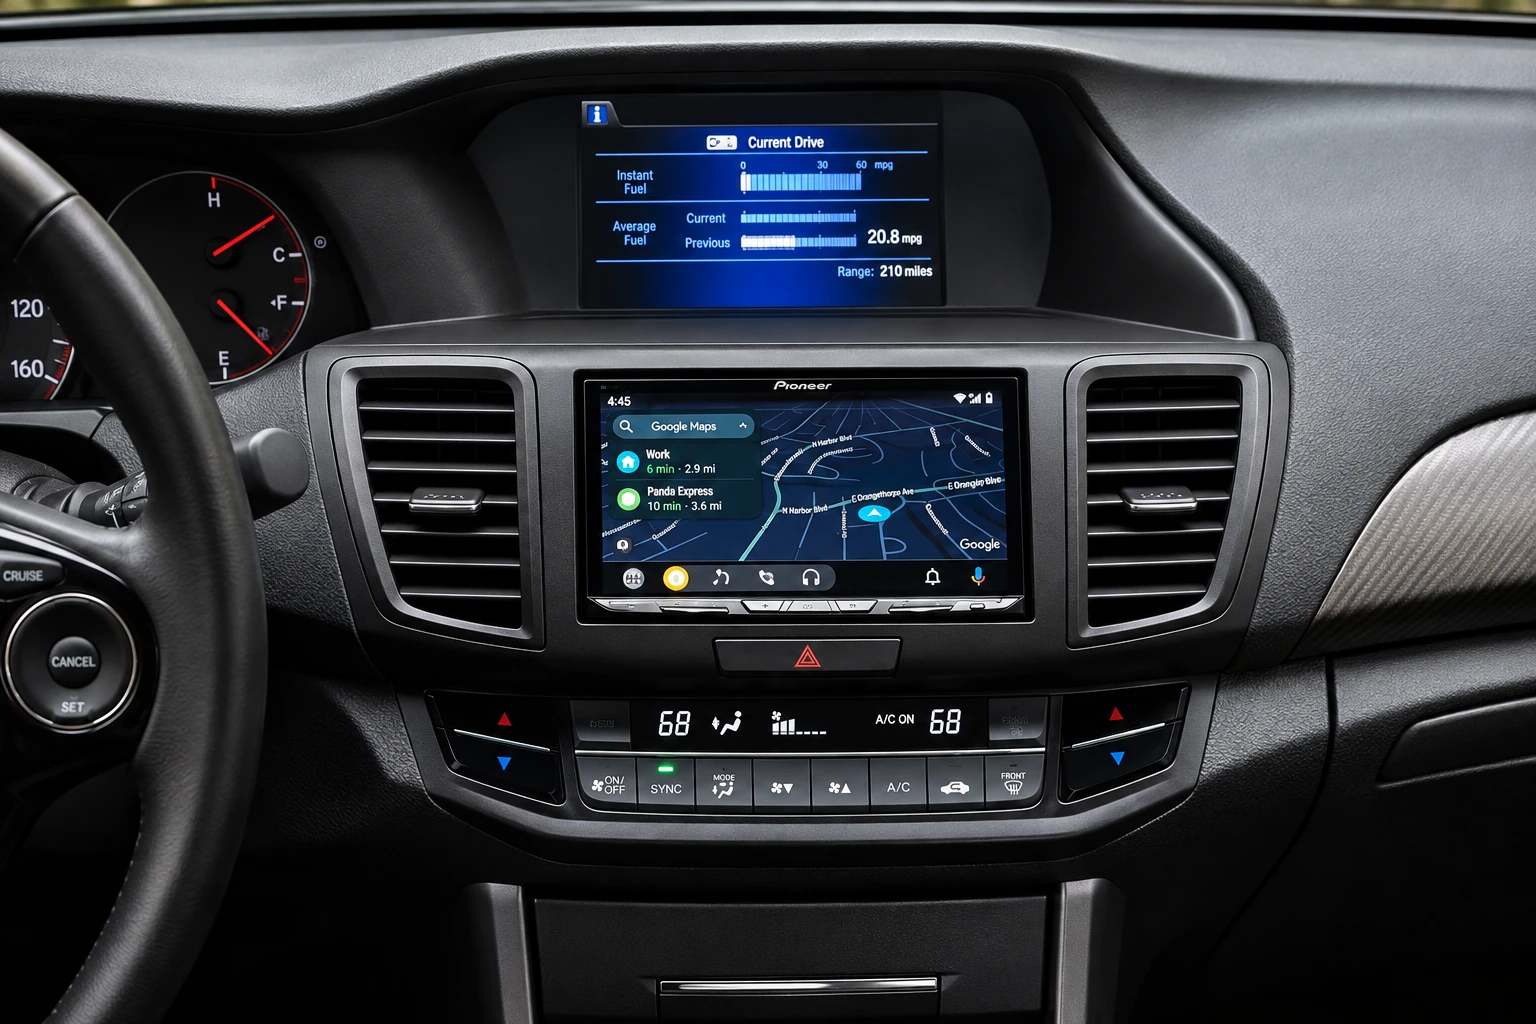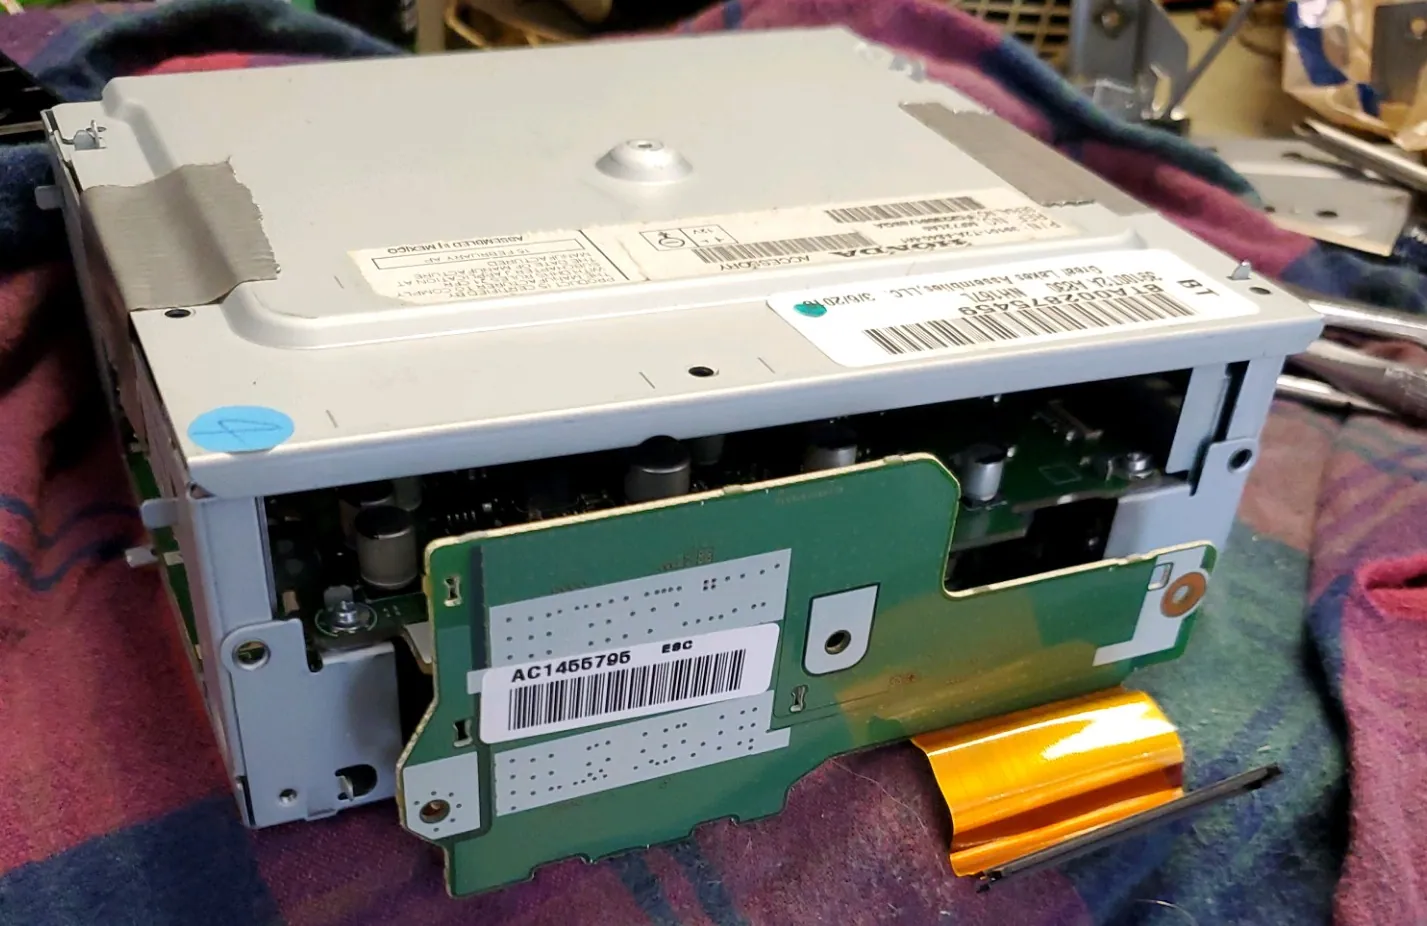

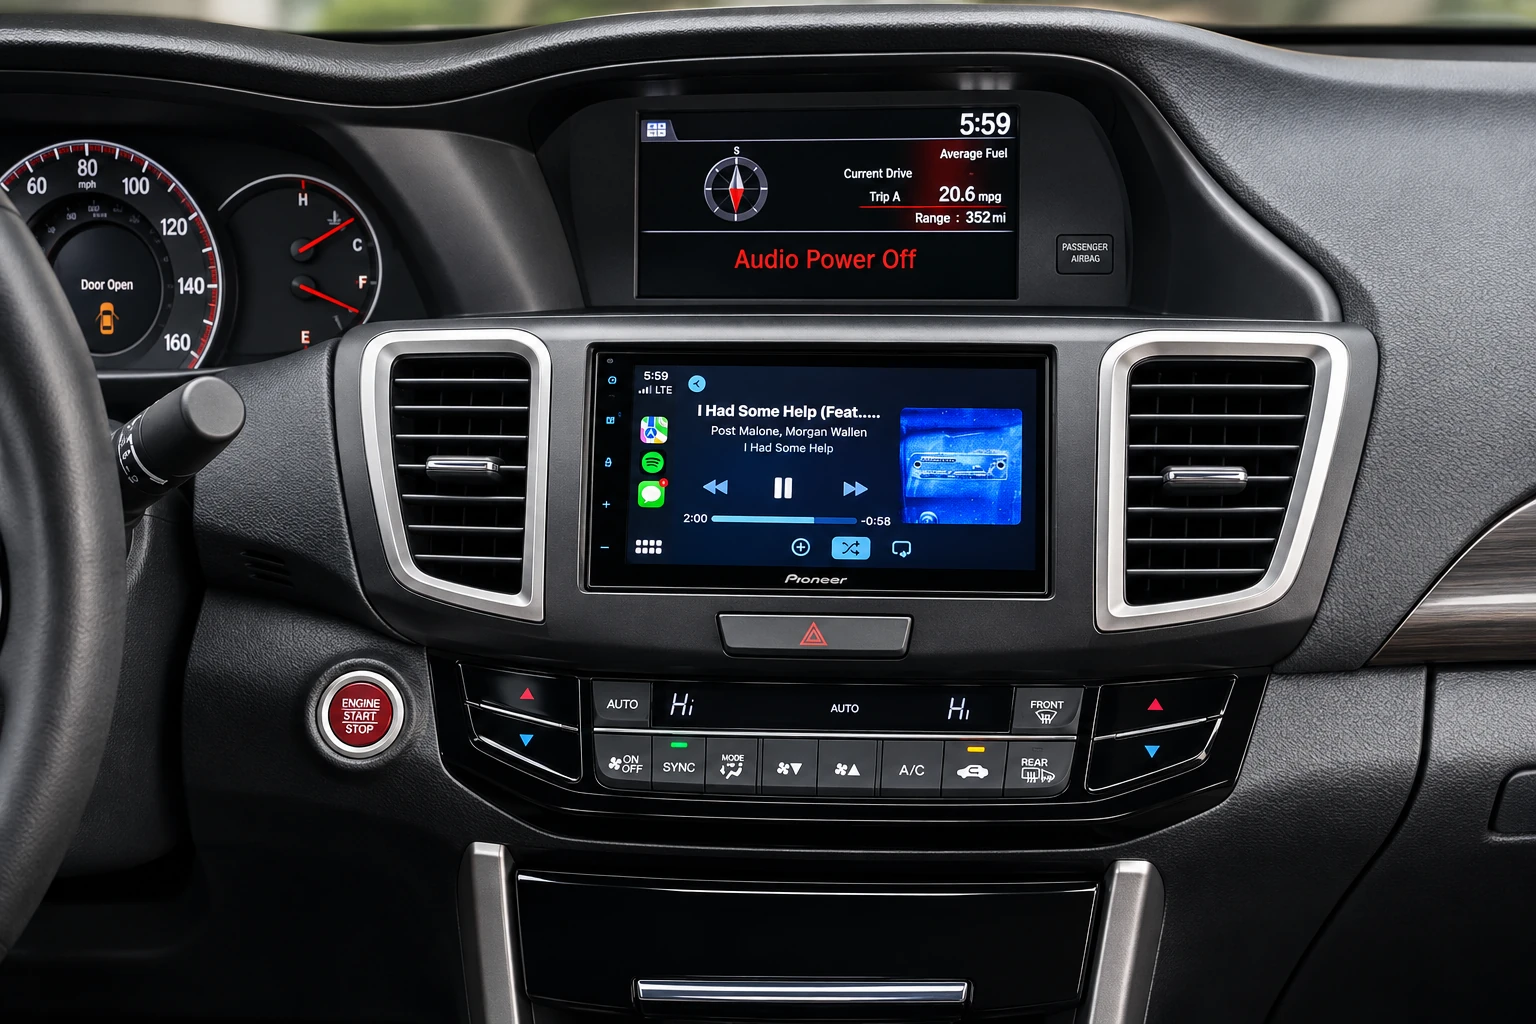
Check your Accord’s model year, trim, factory navigation/audio equipment, and the exact ExGP harness configuration. The photos are from ExGP kit manuals and may show different factory-radio variants. This work includes vehicle trim removal and modifications to interior plastic or radio hardware; avoid cutting or disconnecting components unless you have confirmed the correct procedure for your vehicle. Never power exposed electronics while handling or modifying circuit boards.
The revised factory head unit requires a more involved reduction than the earlier Accord receiver. This guide follows the dedicated 2016-2017 ExGP manual and uses its original hardware and dash photographs.
Identify the 2016-2017 revised radio
The ExGP 2016-2017 (9.5-generation) manual shows a different radio-reduction method from the older LX/Sport and 2013-2015 EX-L units. It involves removing the disc drive and top frame, then installing the supplied protective shield to fit the factory electronics behind the new receiver.
Check your vehicle configuration and kit before opening the radio. The 2016-2017 manual is the source for the following reduction and initialization sequence; do not replace it with the 2013-2015 EX-L IC-card procedure.
Factory settings and preliminary checks
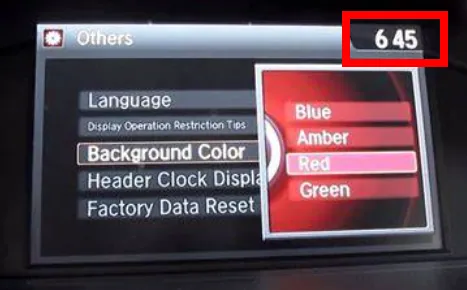
Before hiding the original screen, adjust clock, audio, Bluetooth, and system preferences. The manual’s options include disabling the header clock in System Settings → Others → Header Clock Display where available; navigation-equipped units are excluded from this instruction.
Disconnect your phone from the original HandsFreeLink pairing and turn off the factory Bluetooth to prevent conflicts. Turn off the factory radio and verify its upper i-MID shows Radio Off .
Remove trim and extract the original receiver
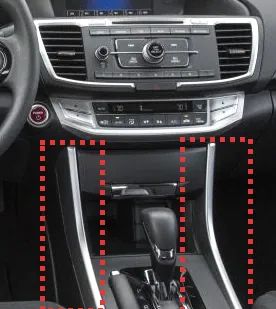
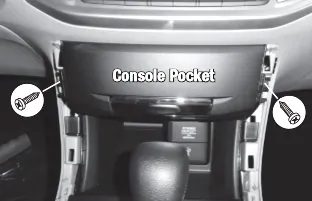
- Remove the center-console side trim and the console pocket.
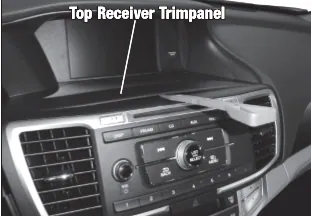
- Remove the top receiver panel and receiver side panel.
- Remove the upper and lower receiver fasteners and the indicated ANC bolts.
- Carefully withdraw the original radio, leaving enough clearance to identify plugs.
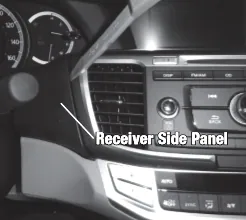
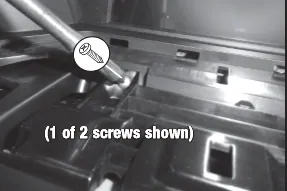
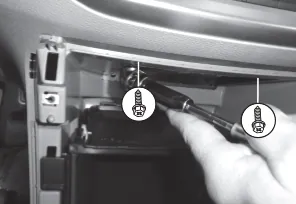
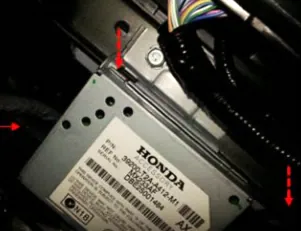
Reduce the 2016-2017 factory head unit
This reduction exposes sensitive circuitry, delicate ribbon-cable latches, and heatsink assemblies. Handle the receiver only with vehicle power off and avoid conductive tools on circuit boards. Follow the original hardware illustrations and stop if your unit differs.
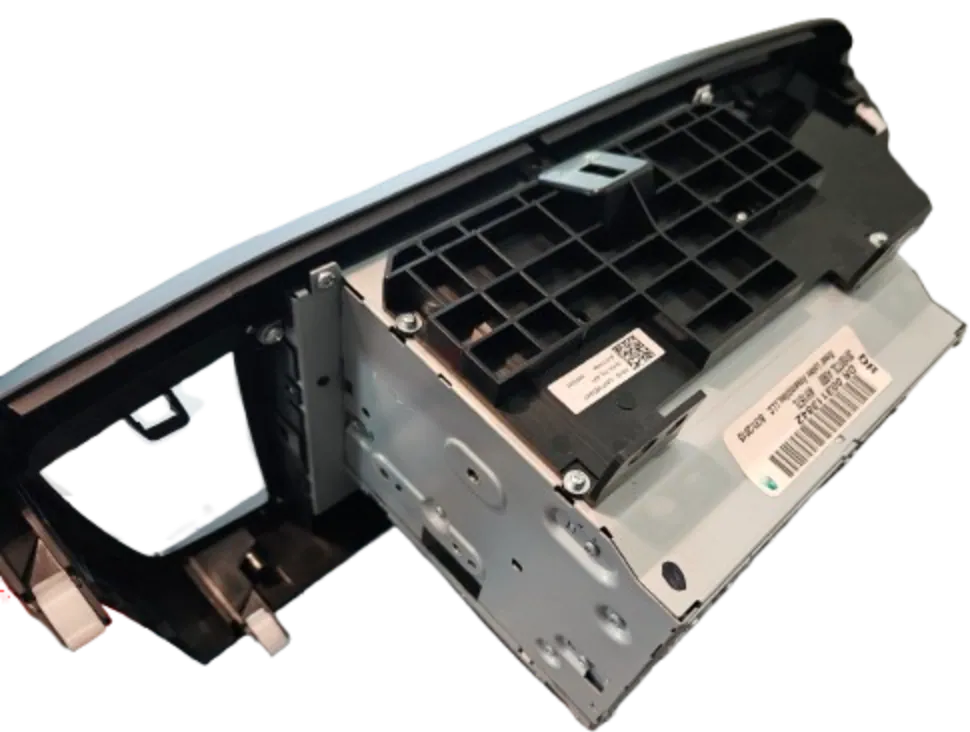
- Remove the original faceplate, side mounting brackets, and front-panel/top-frame plastic fasteners.
- Remove the heatsink screws, heatsink, rear-plate fasteners, and rear plate.
- Remove the bottom cover so the front plate can slide out.
- Reinstall the bottom cover and heatsink in the configuration shown in the manual.
- For the major size reduction, locate the disc-drive ribbon cable and its small locking latch. Carefully release the latch with a nonconductive plastic tool, then detach the disc-drive assembly as illustrated.
- Fit the included protective shield using the reused screws. Align and secure the front shield with the same mounting screws.
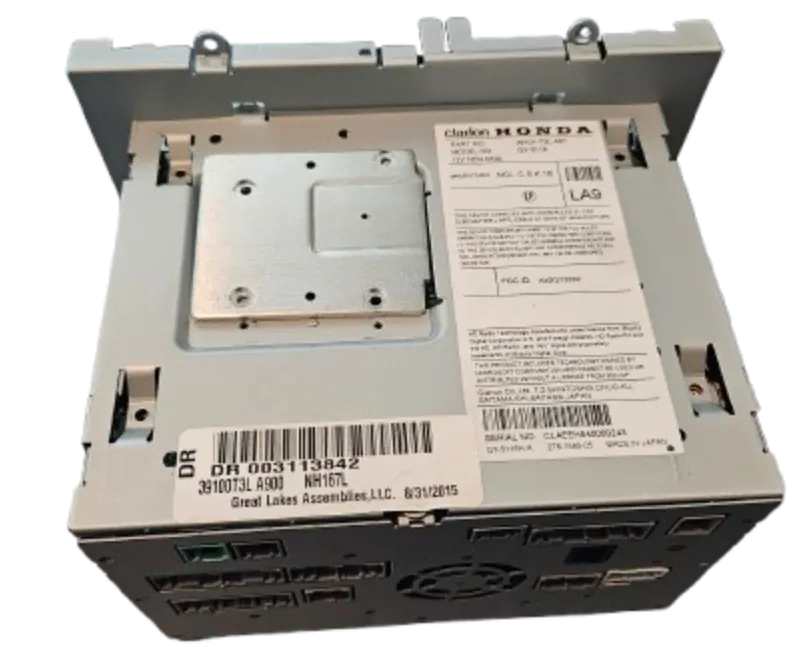
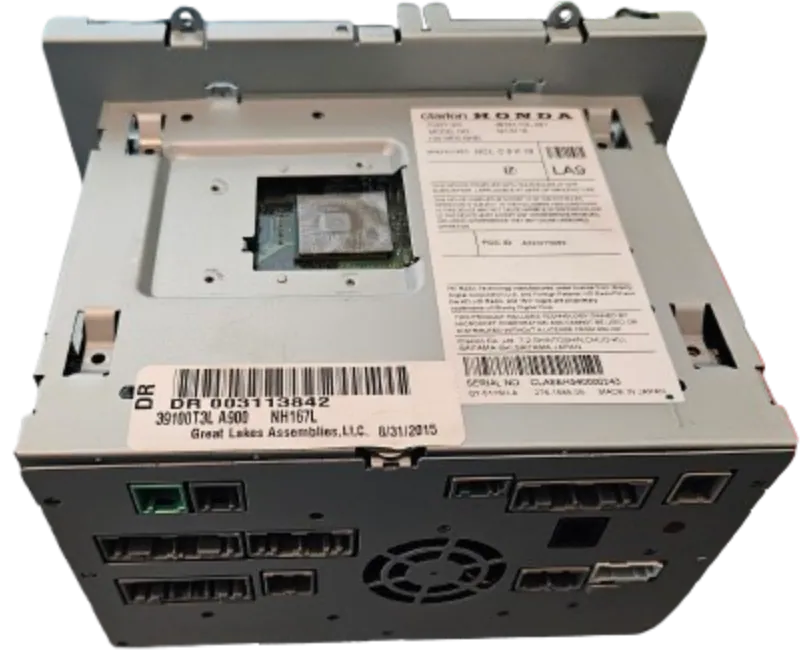
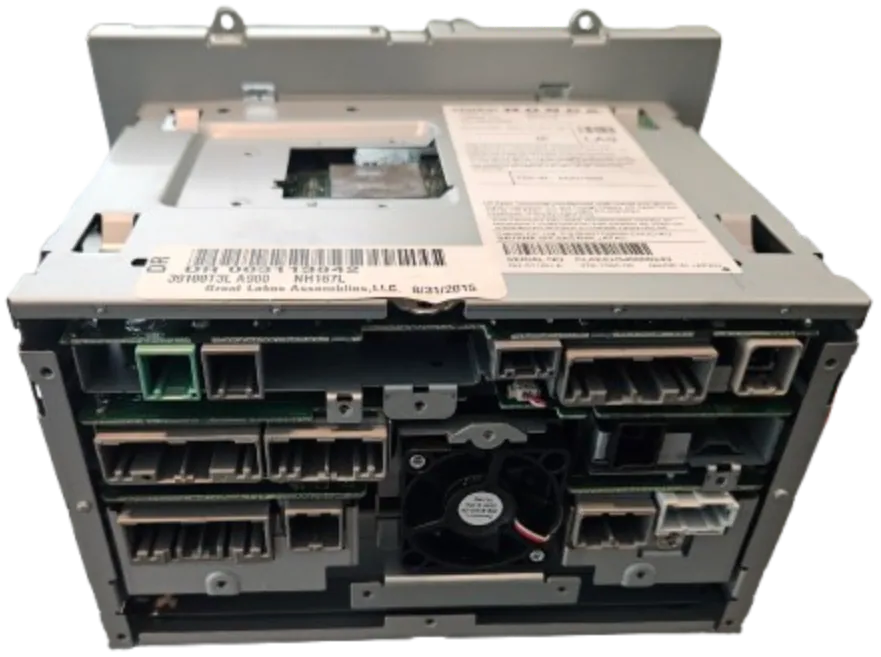
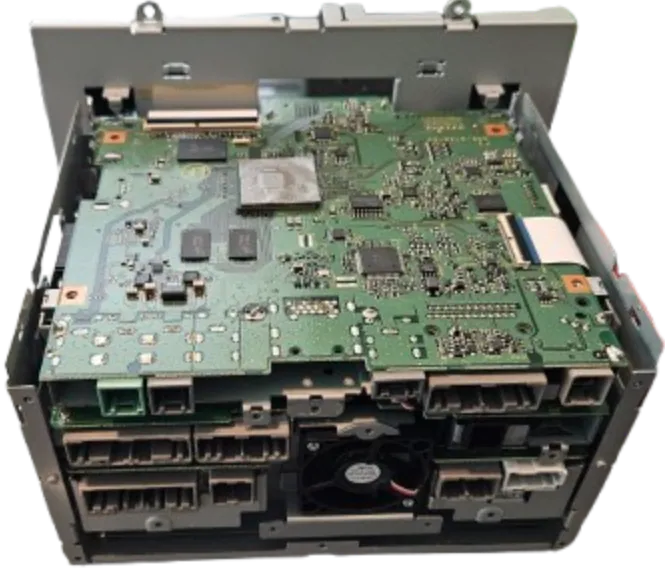
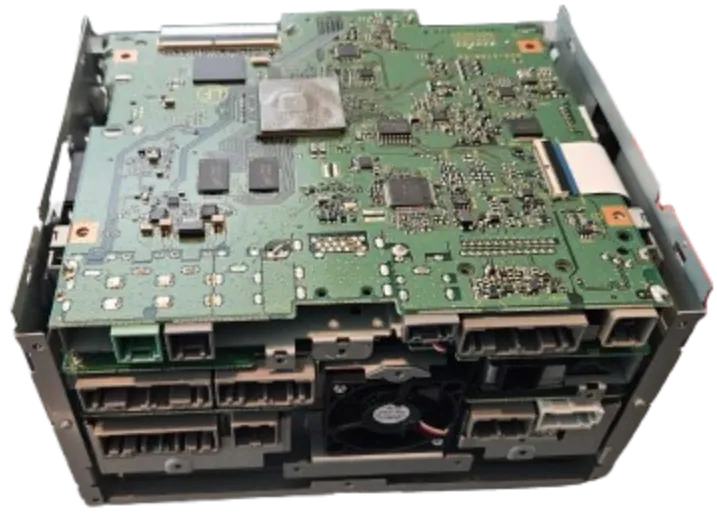
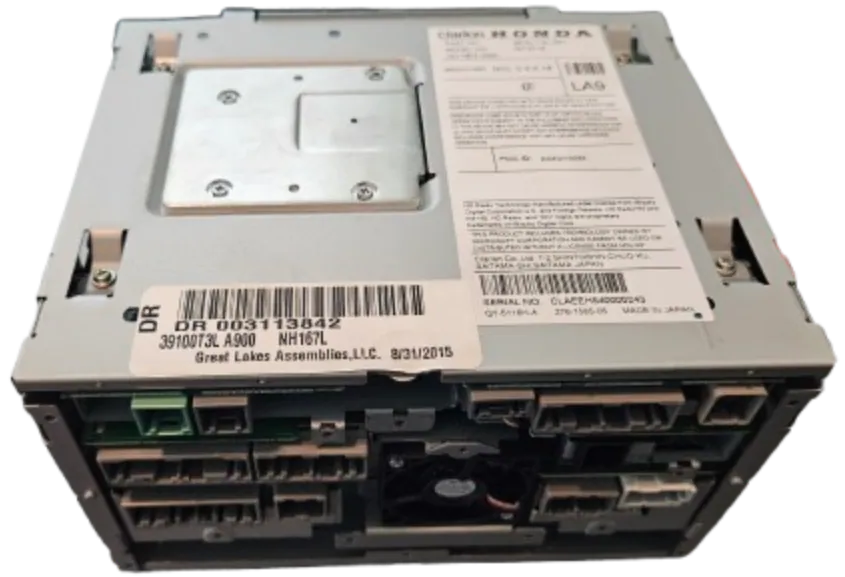
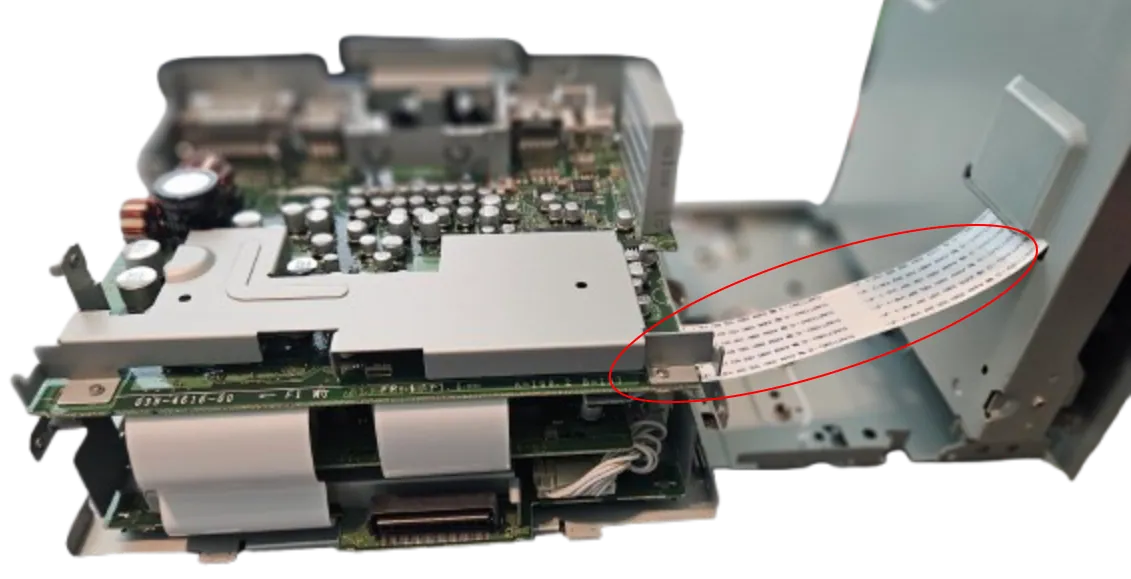
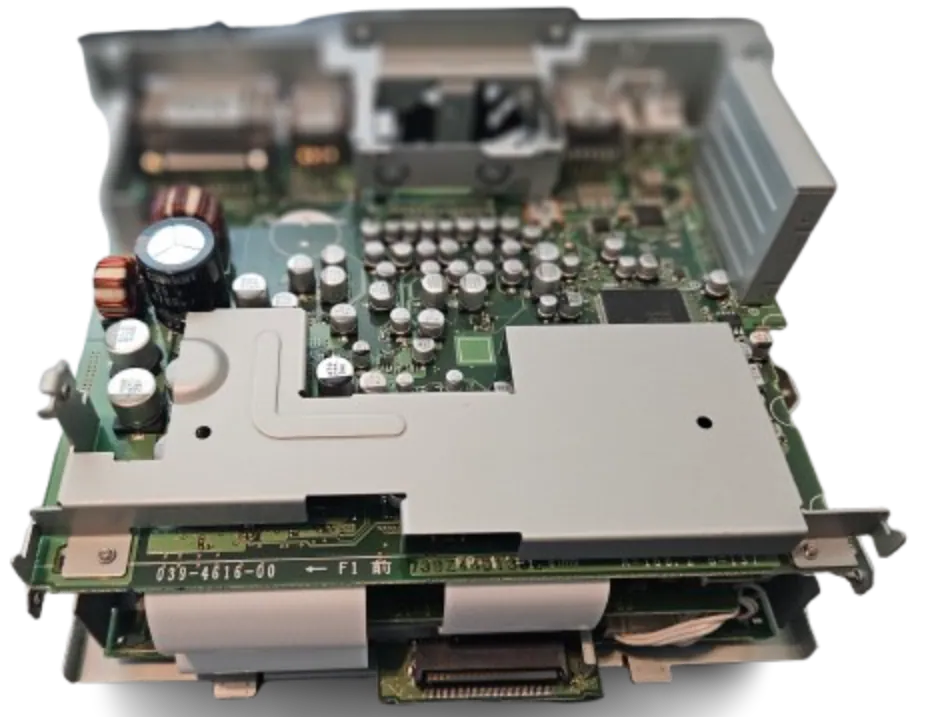
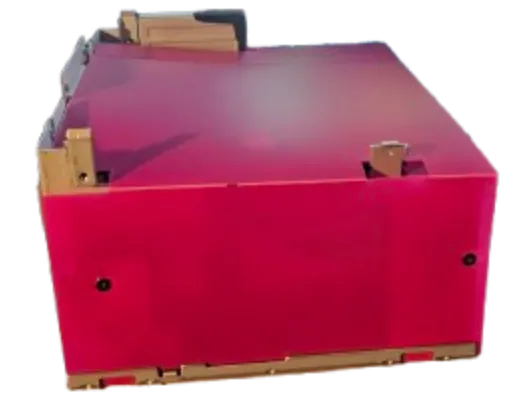
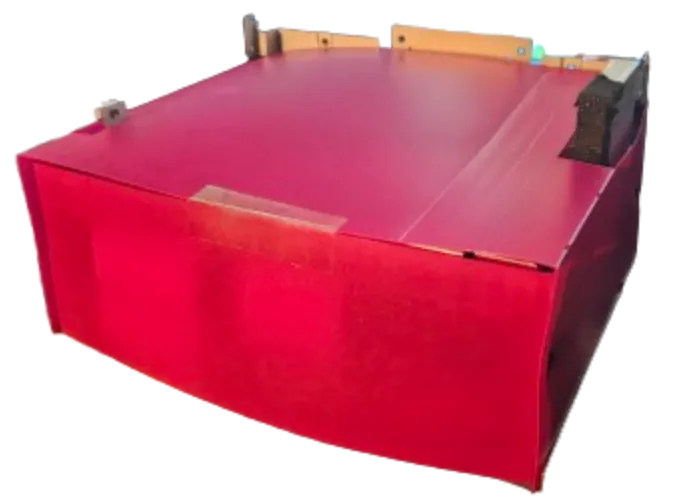
The source manual notes that the front shield may need temporary removal during initialization ; do not overtighten its screws or make it impossible to remove. Keep exposed electronics protected during the process.
Harness pinout, illumination, and HFL connections
The ExGP bypass harness mates the original radio and vehicle wiring to the aftermarket receiver and steering-wheel-control unit. The guide illustrates optional blue remote turn-on, parking-brake lead where supplied, and antenna adaptation.
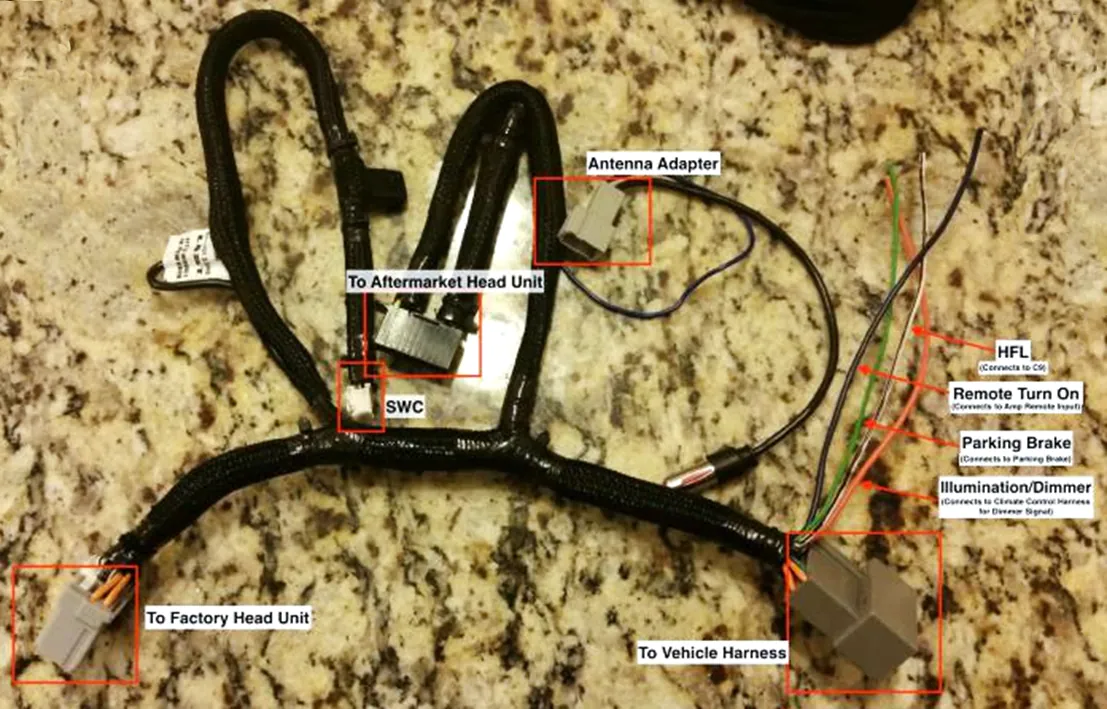
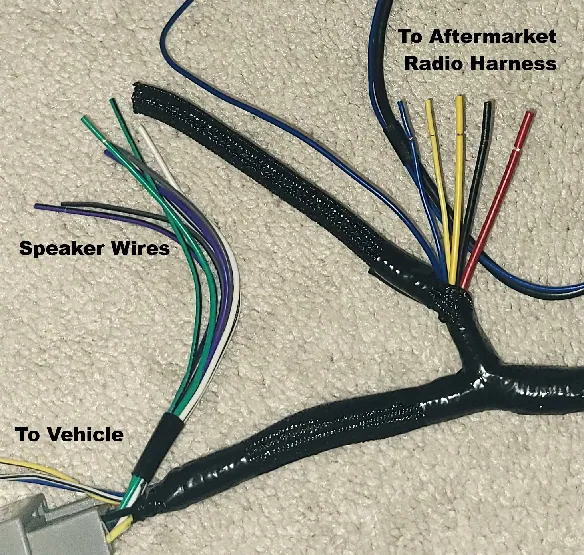
Reference: red = ACC, yellow = constant battery, black = ground, blue = remote amp trigger. Speaker colors in the manual are white/front left, gray/front right, green/rear left, and purple/rear right; black-striped conductors are negative. Check your kit configuration before connecting.
Remove the climate-control panel. Tap the ExGP orange or yellow/black illumination lead to the gray wire at Pin 7 between green and orange in the climate-control connector, routed underneath the radio’s metal frame. The manual recommends an insulated military splice.
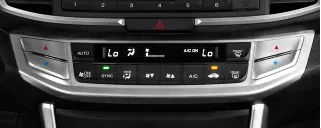
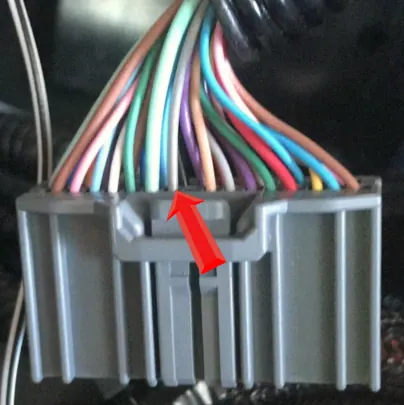
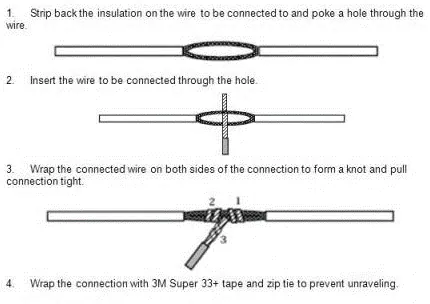
Tap the ExGP pink/red HFL lead to the indicated light-blue factory HFL lead, using the connector configuration shown in the manual. The connector diagram identifies the proper radio-side socket; verify the actual harness before making any wire splice.
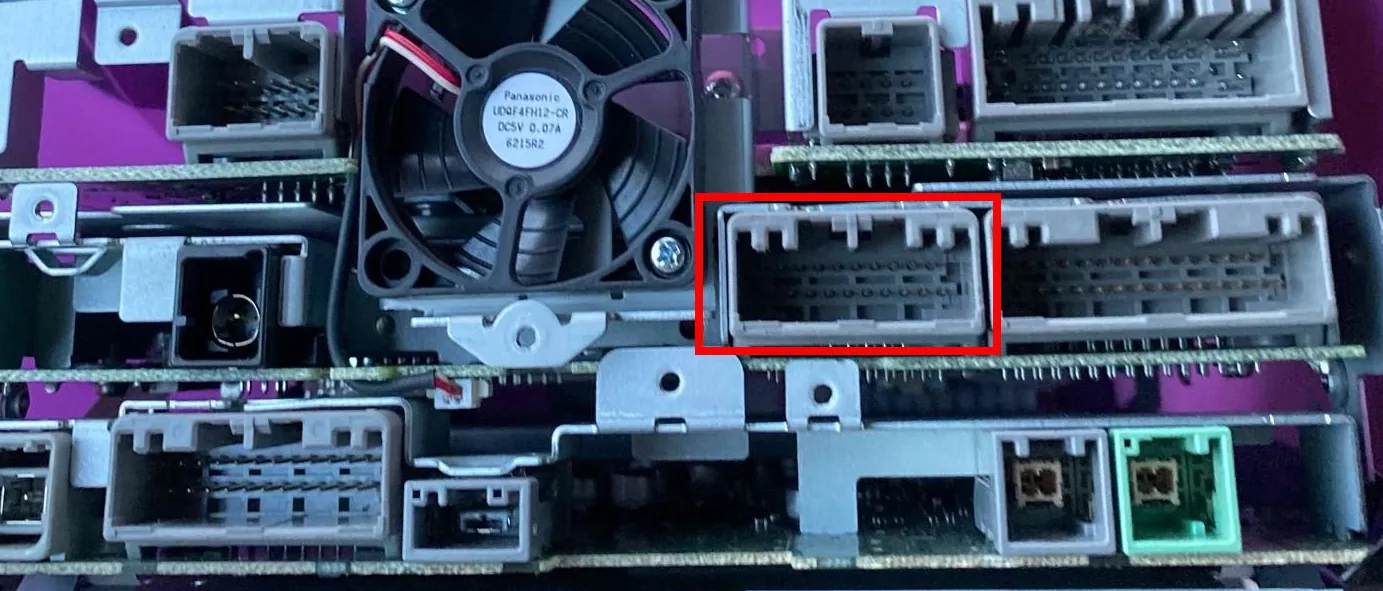
Connect the bypass harness to the original radio Main plug and the PAC SWI-CP5 or Maestro SW module; connect the remaining factory wiring and finally the vehicle-side bypass plugs. The manual notes that two factory connectors are used by the antenna and subwoofer adapters . Keep the radio forward-facing at this stage for initialization.
Initialize the 2016-2017 factory radio
It must remain connected to both the retained original receiver and the vehicle-side plugs throughout the procedure. Disconnecting it will cause the factory radio to return to security lock mode.
- With the vehicle off, position the reduced receiver in its normal forward-facing position during setup or reinitialization.
- Connect the ExGP install harness and all required factory plugs to the receiver. The manual notes that these initial two steps may already be done during a first-time install.
- Attach the factory touchscreen carefully, turn ignition on, and wait for the security-code prompt. Hold the factory radio power button for approximately 10-15 seconds until it starts normally.
- Confirm the upper display and touchscreen work, then turn the vehicle off. Disconnect the other factory plugs as required to reposition the receiver , but keep the ExGP install harness connected at both ends throughout.
- Reposition the reduced receiver facing downward behind the dash, then reconnect all factory wiring and adapters.
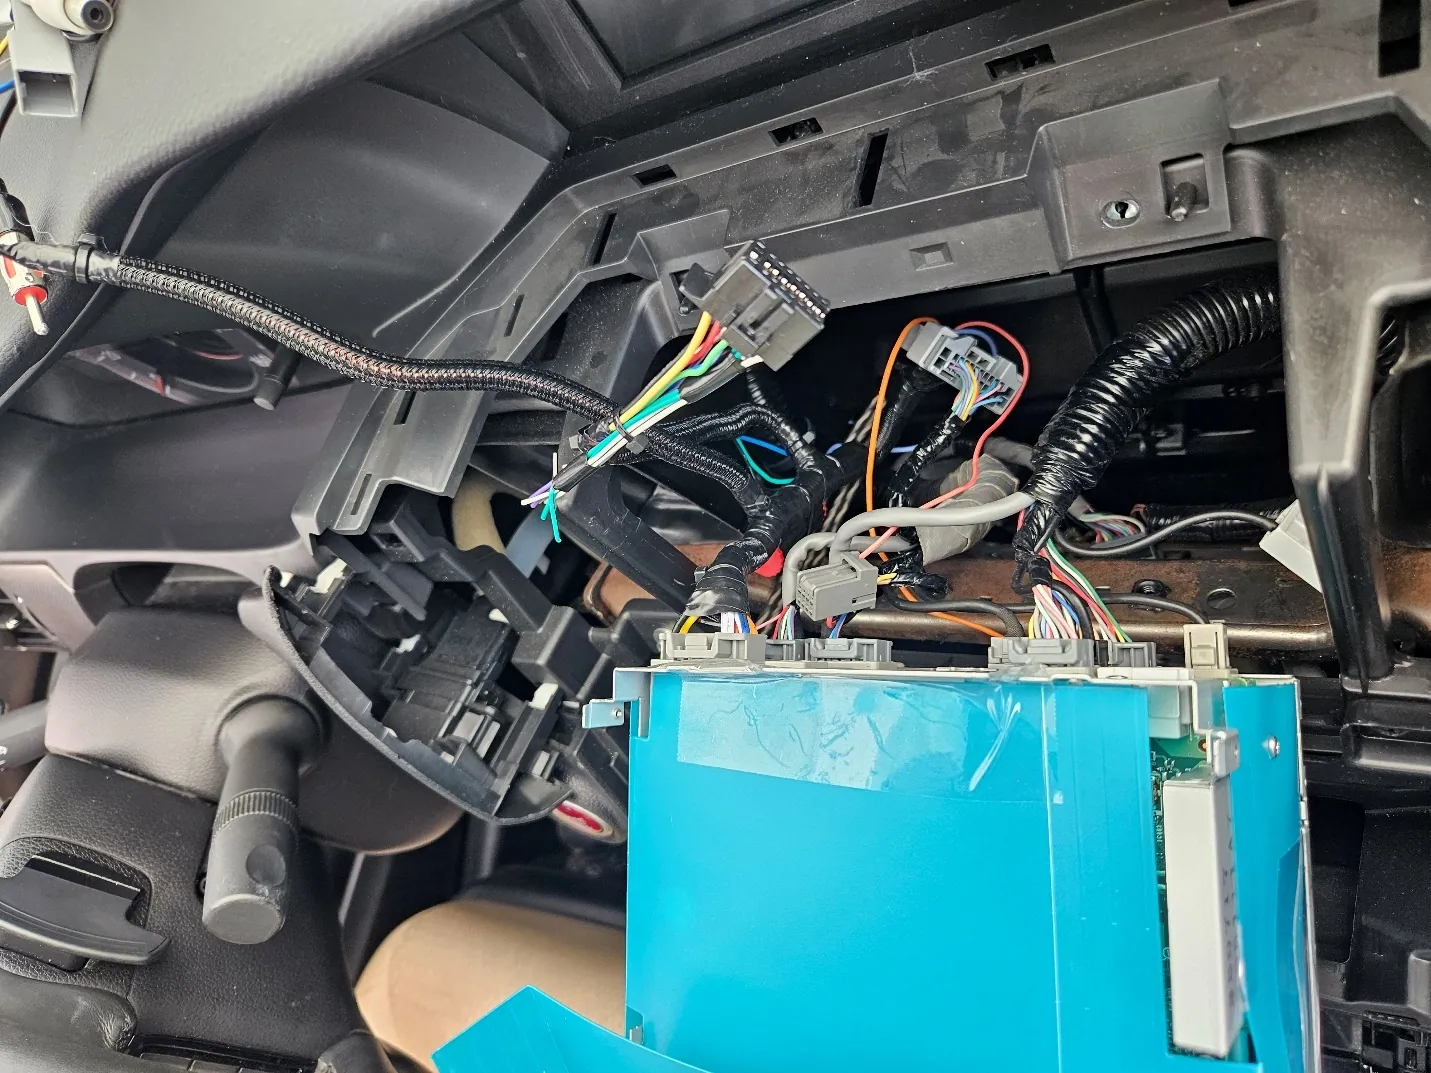
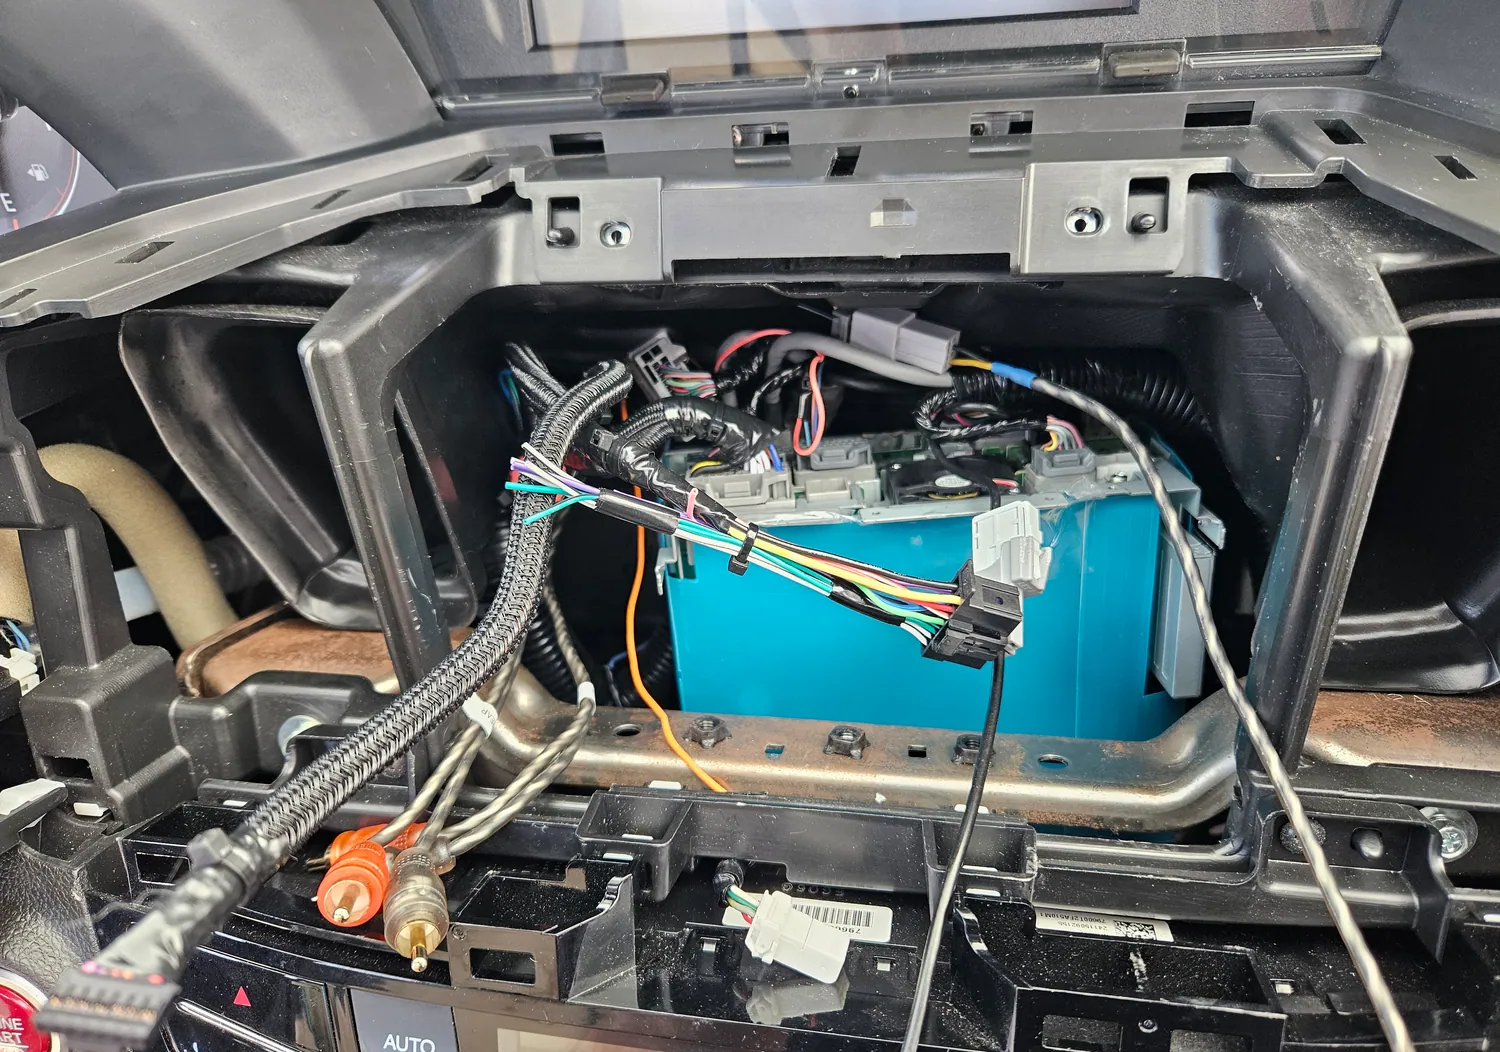
The exact connector-handling distinction above matters: this 2016-2017 procedure is different from the 2013-2015 EX-L sequence , which requires the other radio connections to stay in place while the touchscreen alone is disconnected.
Complete the new head unit and verify
Install the aftermarket receiver, connect its power, speaker, radio antenna, RCA, microphone, amplifier, steering-wheel-control module, and any remaining accessories following their manufacturers’ instructions. Restore the protective front shield where the manual calls for it.
With the installation powered for testing, check the upper factory display, retained factory functions, climate controls, new stereo, audio outputs, button mappings, and relevant accessories before refitting trim.
If the radio security code appears after battery disconnection, the manual describes repeating the initialization with the factory screen and retained ExGP harness connected. Do not confuse that contingency with permission to disconnect the ExGP harness during the initial installation.
Contact [email protected] for fitment and kit-specific assistance.