
A Jellyfin container with persistent configuration, a read-only media mount, access from your local network, and a backup plan. The first pass uses ordinary playback; GPU acceleration can be configured separately.
You need a Linux host with Docker Engine and the Compose plugin working. Start with the Docker installation guide if needed. Use media you are entitled to store and play, and begin with a small test library before adding everything.
1. Create a small, understandable layout
Use a new project directory in your own home folder. The config folder holds Jellyfin’s persistent server data, cache holds its working cache, and media holds the files in this example.
mkdir -p ~/services/jellyfin/{config,cache,media}
cd ~/services/jellyfin
mkdir -p media/Movies media/Shows
These folders are created as your login user. Running Jellyfin with that same numeric user and group keeps this first setup straightforward. If you later use a dedicated service account or an existing disk, deliberately align ownership and access permissions rather than applying a blanket chmod 777.
Put a small test movie you can legally play into media/Movies, using a clear folder and filename. Keep movies and shows in separate library folders. Existing NAS storage is a separate host-mount task; do not substitute a network path here until the Linux host itself can reliably read it.
2. Set the container’s identity and address
While still in the project directory, create .env with your numeric user and group IDs:
printf 'JELLYFIN_UID=%s
JELLYFIN_GID=%s
JELLYFIN_BIND_IP=YOUR_SERVER_LAN_IP
' "$(id -u)" "$(id -g)" > .env
nano .env
Replace YOUR_SERVER_LAN_IP with the IPv4 address assigned to the server’s LAN interface. Find candidate addresses with ip -br -4 address; ignore loopback and Docker bridge interfaces. In nano, save with Ctrl+O, press Enter, and exit with Ctrl+X. A DHCP reservation can keep the chosen address stable.
Use the server’s own LAN address, not a router address or an invented sample. An incorrect or changed address will prevent Docker from publishing this port. An address binding reduces accidental exposure on other interfaces; it is not an access-control boundary by itself.
The values are local configuration, not something you need to share publicly. A starter environment example is included if you prefer to edit a file yourself.
3. Create the Compose configuration
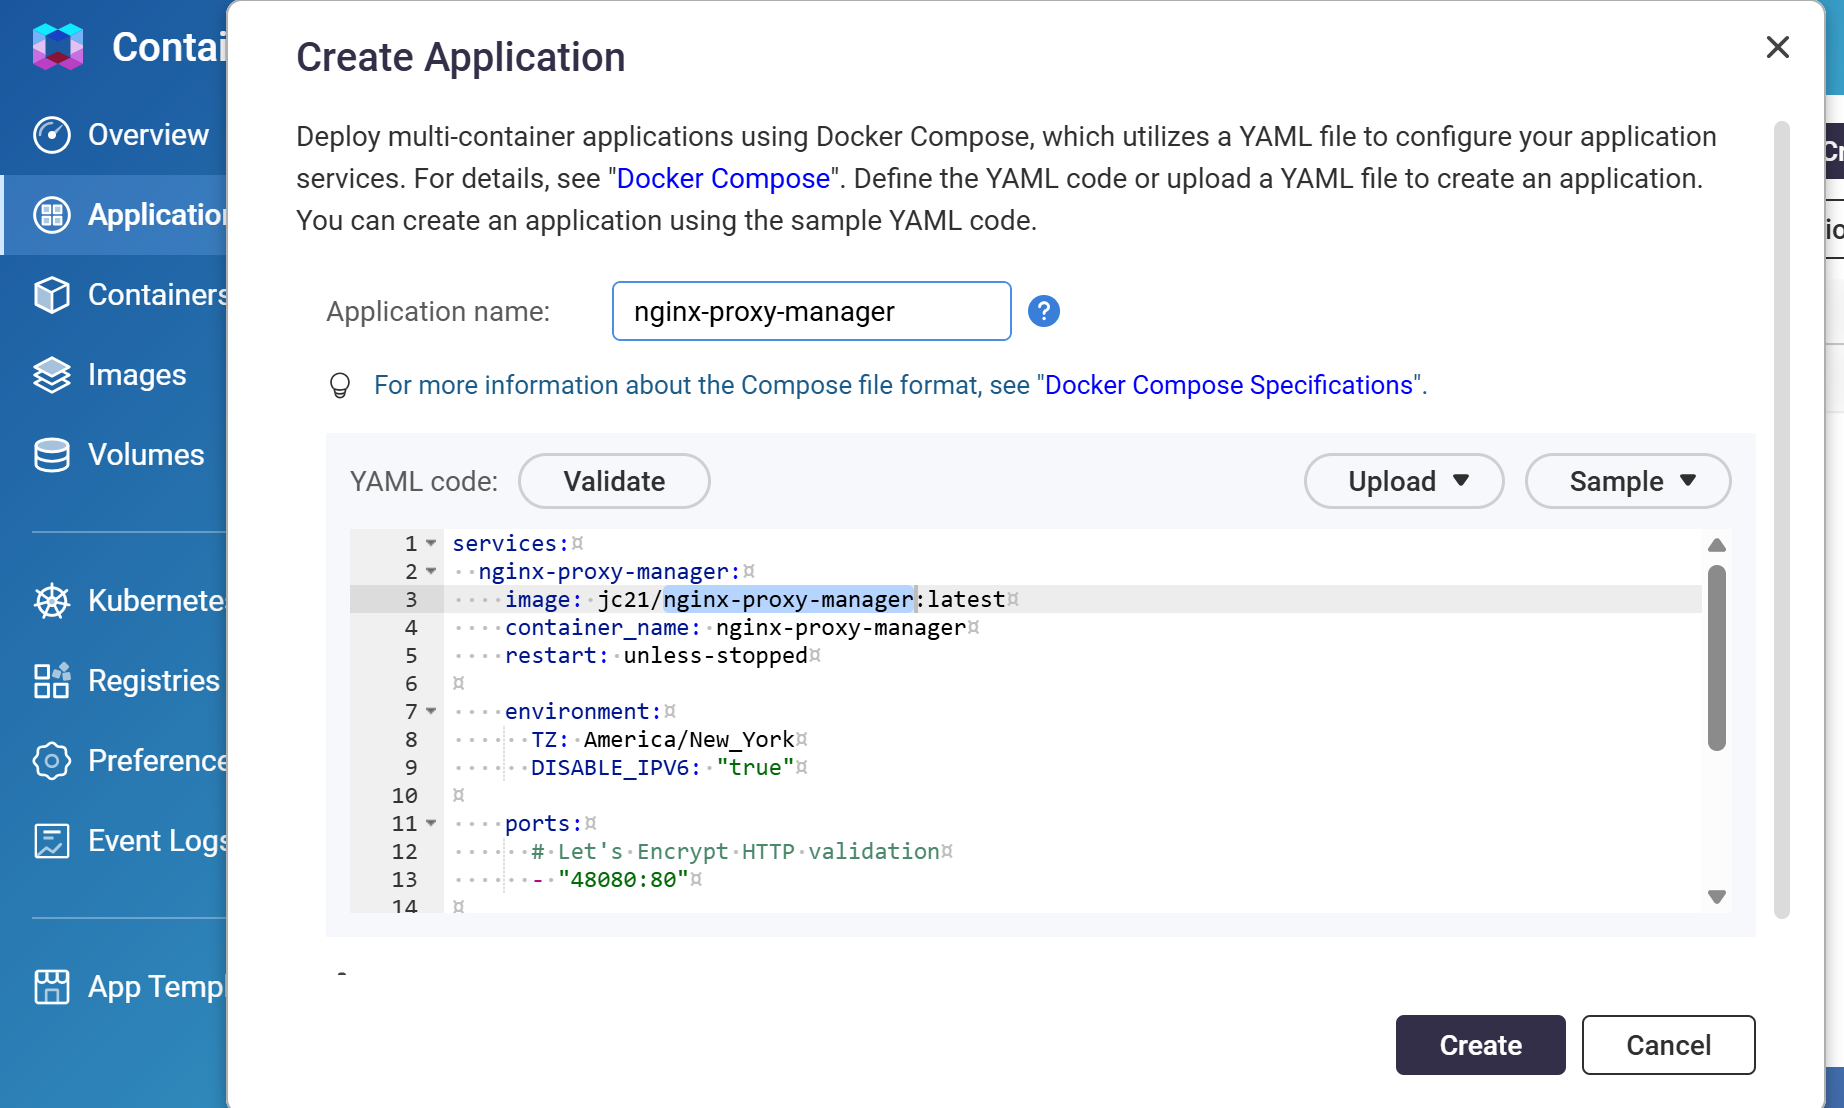
Create compose.yaml in the same directory as .env:
nano compose.yamlPaste the following, preserving the indentation:
services:
  jellyfin:
    image: jellyfin/jellyfin:latest
    user: "${JELLYFIN_UID:?Set JELLYFIN_UID}:${JELLYFIN_GID:?Set JELLYFIN_GID}"
    restart: unless-stopped
    ports:
      - "${JELLYFIN_BIND_IP:?Set your server LAN address}:8096:8096/tcp"
    volumes:
      - ./config:/config
      - ./cache:/cache
      - ./media:/media:ro
You can also download the Compose example. This uses Jellyfin’s official container image. Configuration and cache survive container replacement because they live on the host. The :ro suffix lets Jellyfin read the media mount without writing into it.
The image’s latest tag follows the current stable release when you pull it. It does not automatically update an already running container. After the first successful setup, record the running version and consider pinning an exact supported release tag so later pulls are intentional. Refer to Jellyfin’s container documentation for tag choices.
This setup uses bridge networking and TCP port 8096. Enter the server address manually in clients; automatic discovery and DLNA are not configured. Hardware acceleration and an HTTPS reverse proxy are separate additions.
4. Validate, pull, and start Jellyfin
Run these commands from ~/services/jellyfin. Fix any configuration errors before continuing:
sudo docker compose config --quiet
sudo docker compose pull jellyfin
sudo docker compose up -d jellyfin
sudo docker compose ps
sudo docker compose logs --tail=80 jellyfin
The service should stay running rather than repeatedly restart. On another device on your trusted LAN, open http://YOUR_SERVER_LAN_IP:8096, replacing the placeholder with your server address. Allow a little time for first startup.
If you change .env or the Compose file, run sudo docker compose up -d jellyfin again to apply those changes.
5. Create your account and media libraries
- Select the language for the setup screens.
- Create an administrator account with a strong, unique password.
- Add a Movies library using the container path
/media/Movies. - Add a Shows library using
/media/Shows, if needed. - Choose the metadata language and region you want.
- Leave automatic router port mapping disabled, finish the wizard, and sign in.
The container sees /media/Movies, not the host’s home-directory path. This distinction is the most common reason for an empty library at first setup. The official wizard walkthrough explains the screens in detail.
For this local-network project, do not add router port forwarding. Check the dashboard’s networking settings and local-network definitions before allowing remote users. Docker port publishing can bypass ordinary UFW rules; an address binding and an application checkbox are not substitutes for appropriate network isolation. Read Docker’s firewall guidance before expanding access.
Play your test file in a browser or Jellyfin client. Create a separate, non-administrator account for ordinary viewing. If the file needs transcoding, CPU load can rise; first verify playback, then follow the hardware-specific acceleration documentation if needed.
6. Troubleshoot one layer at a time
| Symptom | What to check |
|---|---|
| The service keeps restarting | Inspect sudo docker compose logs --tail=100 jellyfin. Confirm the configured UID/GID can write to config and cache. |
| “Cannot assign requested address” | The bind address is not assigned to this host. Check .env against ip -br -4 address, then run Compose again. |
| “Port is already allocated” | Another process or container is using 8096. Inspect sudo ss -lntp and sudo docker ps before choosing a different host port. |
| The library is empty | Check the host’s media folder and permissions. In Jellyfin, select the container path, not the host path. |
| The host can connect but another device cannot | Verify the address, published port, and client network. Guest Wi-Fi or VLAN isolation can block access. |
| Playback buffers | Try a small compatible file. Check client format support, network throughput, and whether the server is transcoding. |
Share only the relevant error if you ask for help. Remove account names, addresses, tokens, and media details you do not want public from logs or screenshots.
7. Make a backup you can restore
A container is replaceable; the configuration is what makes this your server. Jellyfin also provides built-in backup tools in supported versions. The example below makes a simple offline copy with Jellyfin stopped so database files are not changing during the copy.
Run the commands from the project directory. The backup is placed outside it, but on the same machine; copy it to separate storage after checking it.
sudo docker compose stop jellyfin
backup_dir="../jellyfin-backups/$(date +%Y%m%d-%H%M%S)"
mkdir -p "$backup_dir"
sudo cp -a config compose.yaml .env "$backup_dir/"
Check that the copy succeeded and contains your configuration. Then restart the server:
sudo docker compose start jellyfin
sudo docker compose ps
Record the running Jellyfin version with the backup. Protect the copied configuration and .env as private server data. This example does not back up the media library, and a backup on the same disk will not protect you from that disk failing. Cache can be rebuilt.
For recovery, stop the service, preserve the current configuration separately, restore the backed-up files with their permissions, and use the Jellyfin image version that matches the backup. Check logs and playback before deleting the preserved copy. Consult Jellyfin’s backup and restore documentation before a version change or recovery.
8. Update deliberately, then check playback
Read the release notes and create a fresh backup first. If you have pinned an exact image tag, edit it to the chosen release before pulling. From the project directory:
sudo docker compose pull jellyfin
sudo docker compose up -d jellyfin
sudo docker compose logs --tail=100 jellyfin
Confirm the new version, your user accounts and libraries, and playback of a test file. Keep the pre-update backup until you are satisfied. A database migration can make a downgrade incompatible; do not point an older image at newly migrated configuration. Restore matching configuration and image versions together if rollback is needed.
At this point you have the core workflow: start, inspect, back up, and update. You can add more libraries or investigate hardware acceleration with a working baseline to return to.
Sources & further reading
The commands and examples in this guide are written for a generic installation. Consult the official documentation for release-specific changes.