
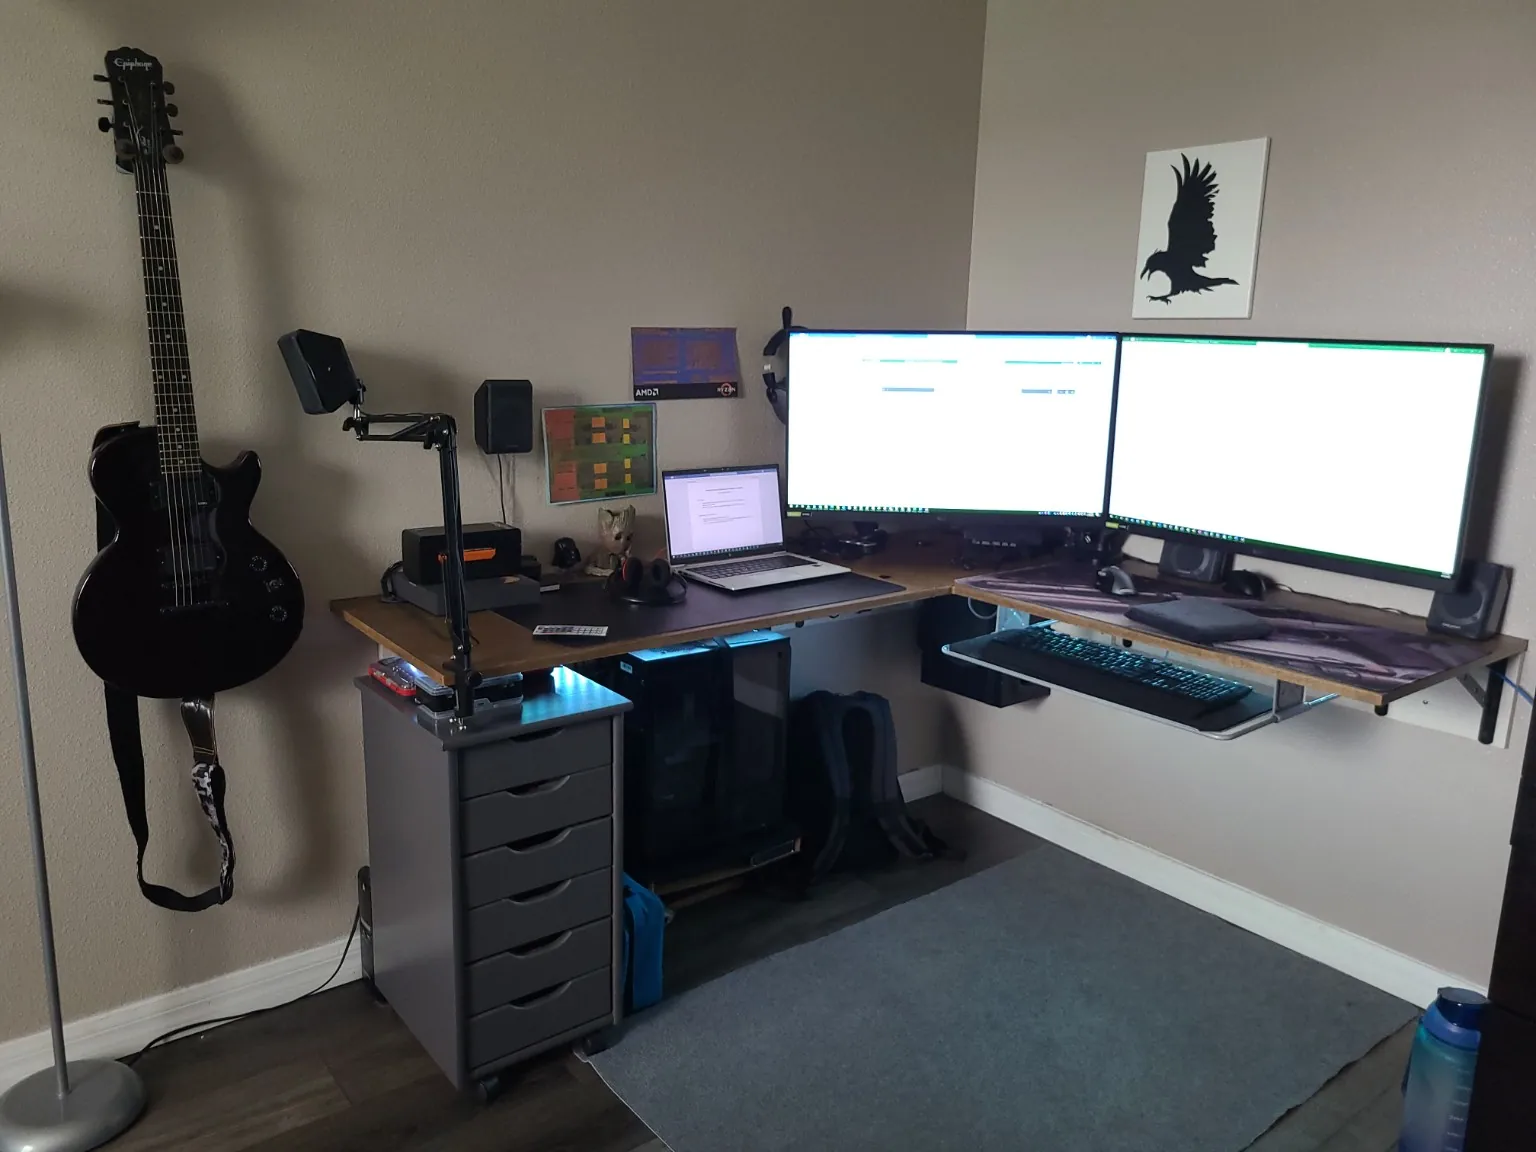
Most premade desks I looked at would have made me choose between surface area, legroom, and how the corner actually worked. I wanted a long left wing, a dedicated monitor area on the right, and space underneath for the computer rather than another bulky desk frame.
The result is a floating-style L-shaped desktop built from ¾-inch birch plywood. Its structural support comes from solid-wood 1×6 backing boards screwed into the wall studs and metal L-brackets fastened to those boards, rather than from the drawer unit you see in the finished photographs.
The desk in one glance
The finished arrangement has two wall-supported desk sections meeting at the corner. The longer, slimmer section gives me a secondary surface for equipment and a laptop, while the right side is the main keyboard-and-monitor workstation. The drawer cabinet is storage below the left section; the desk was designed around its wall-mounted support.
Plan the L-shaped desktop
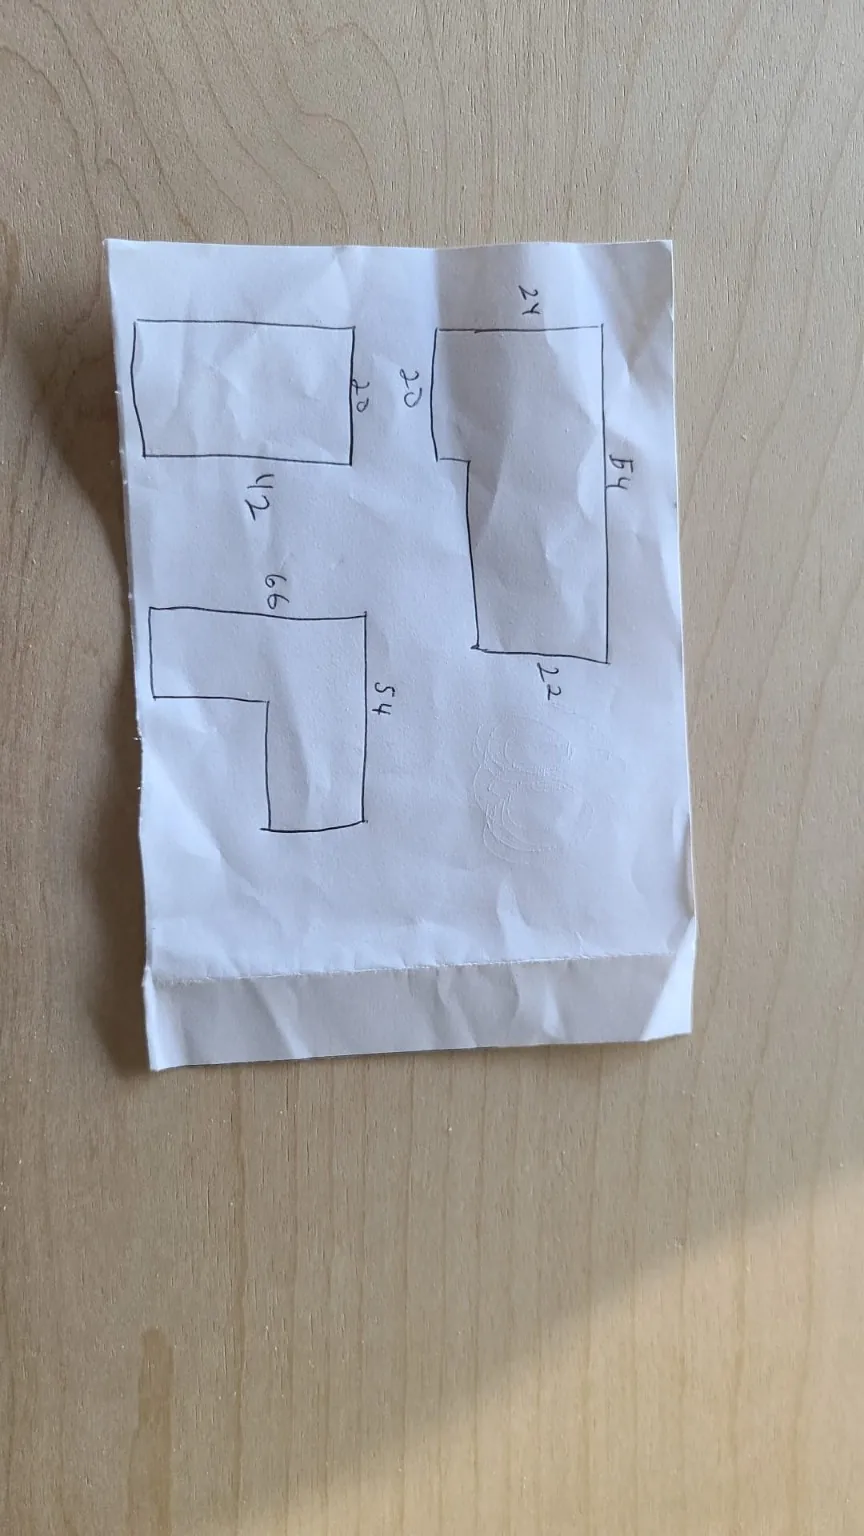
I started with a sketch to work out where the two tops would sit and where the seated position would land relative to the corner. The rough drawing includes dimensions, but it was a planning note, not a final dimensioned construction drawing. If you reproduce the idea, measure your own walls, baseboards, and equipment before cutting.
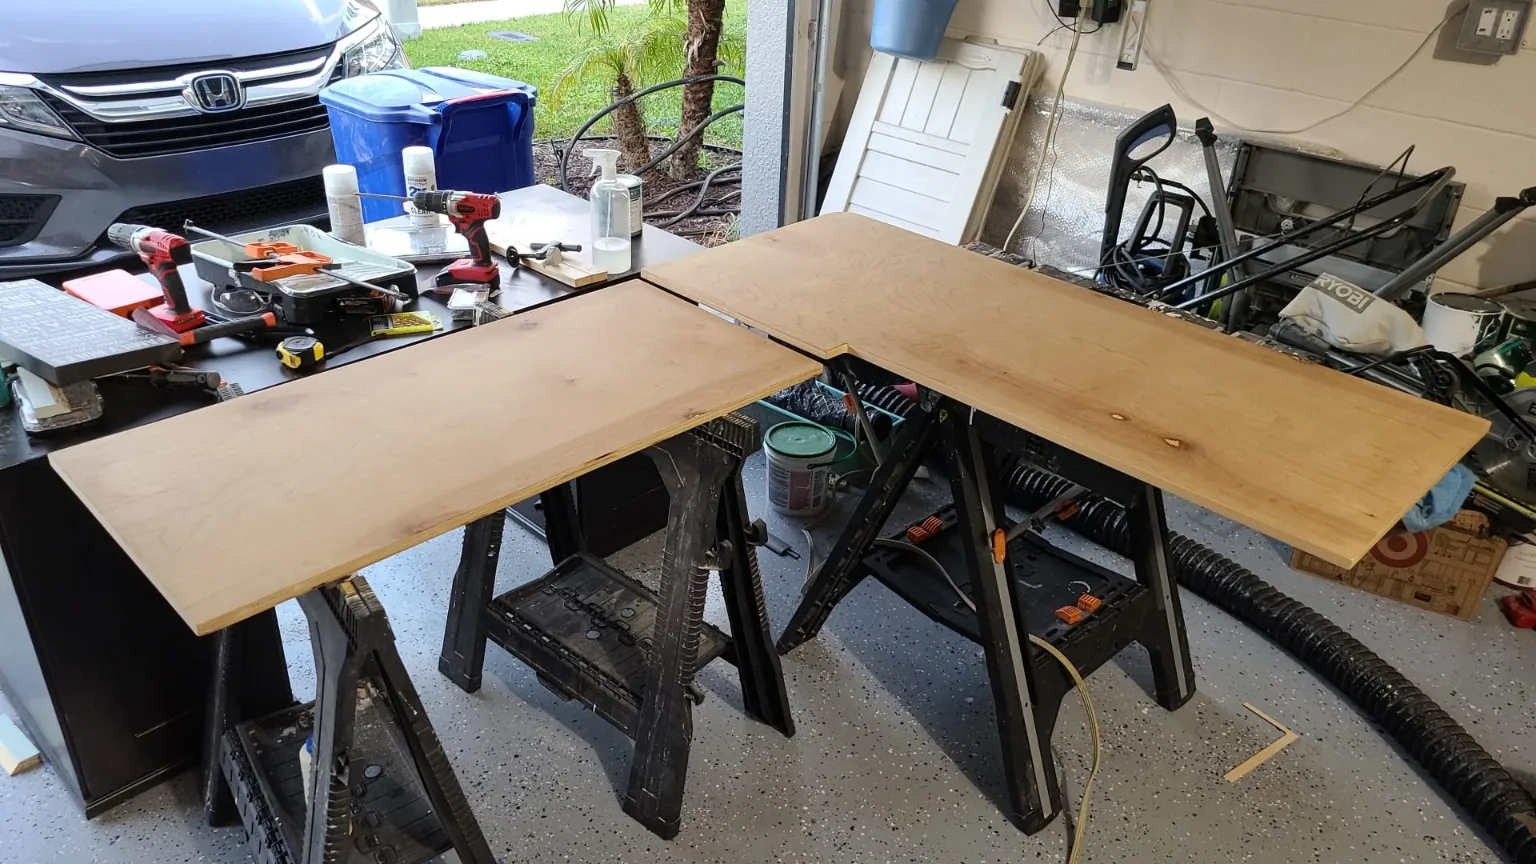
One section includes a relief cut so the desktop shape fits the working position instead of wasting material in a corner nobody can comfortably reach. You can see the notch more clearly before the finish goes on.
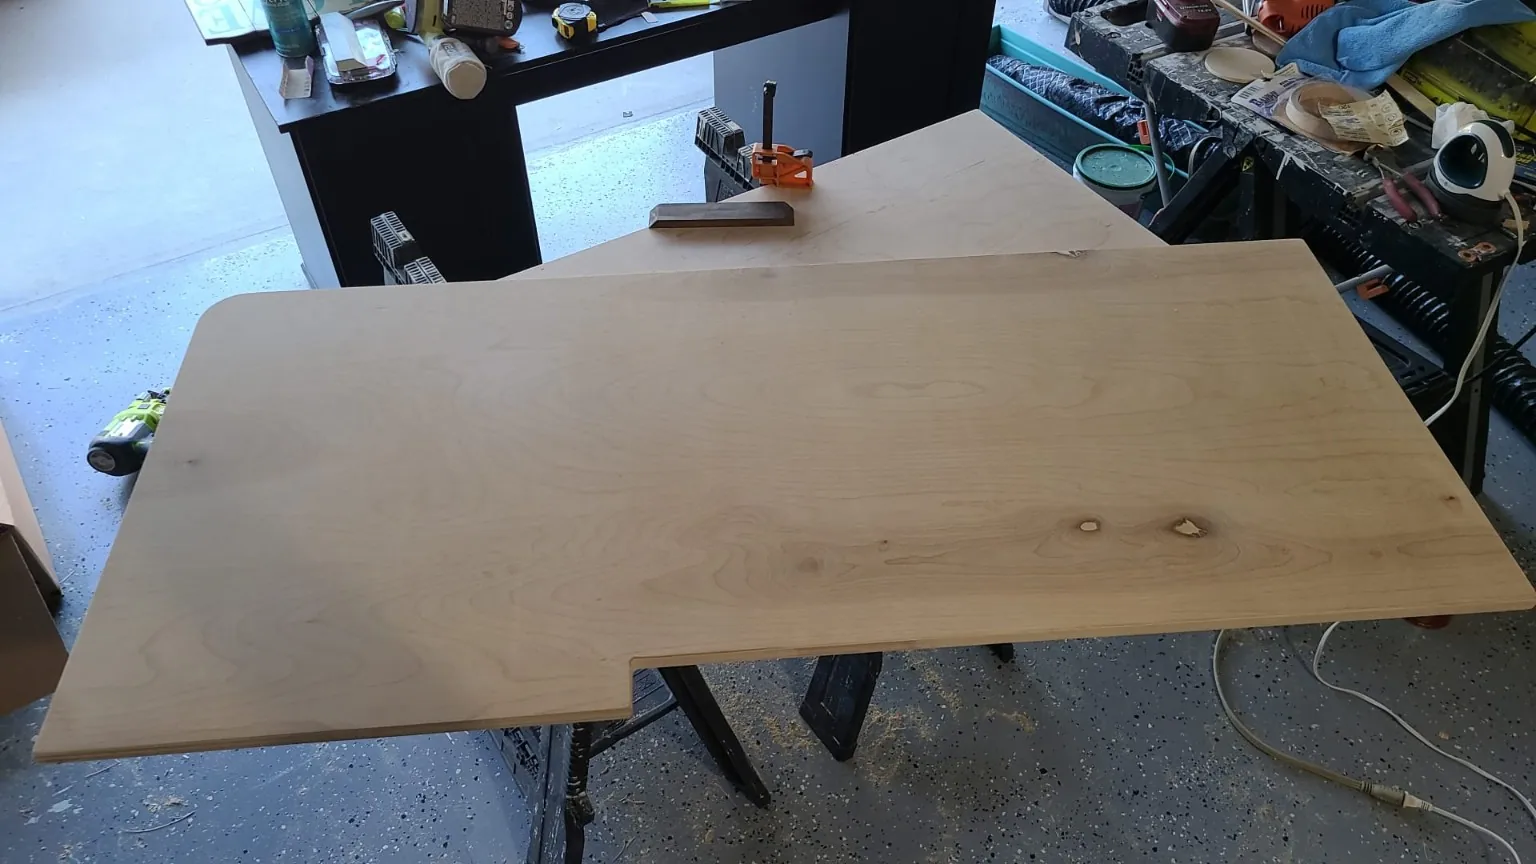
Shape and finish the birch plywood
After cutting the ¾-inch birch plywood into the two sections, I prepared the exposed edges and surfaces for finishing. The plywood edges remain visible in parts of the finished desk, so the edge treatment deserves the same attention as the desktop itself.
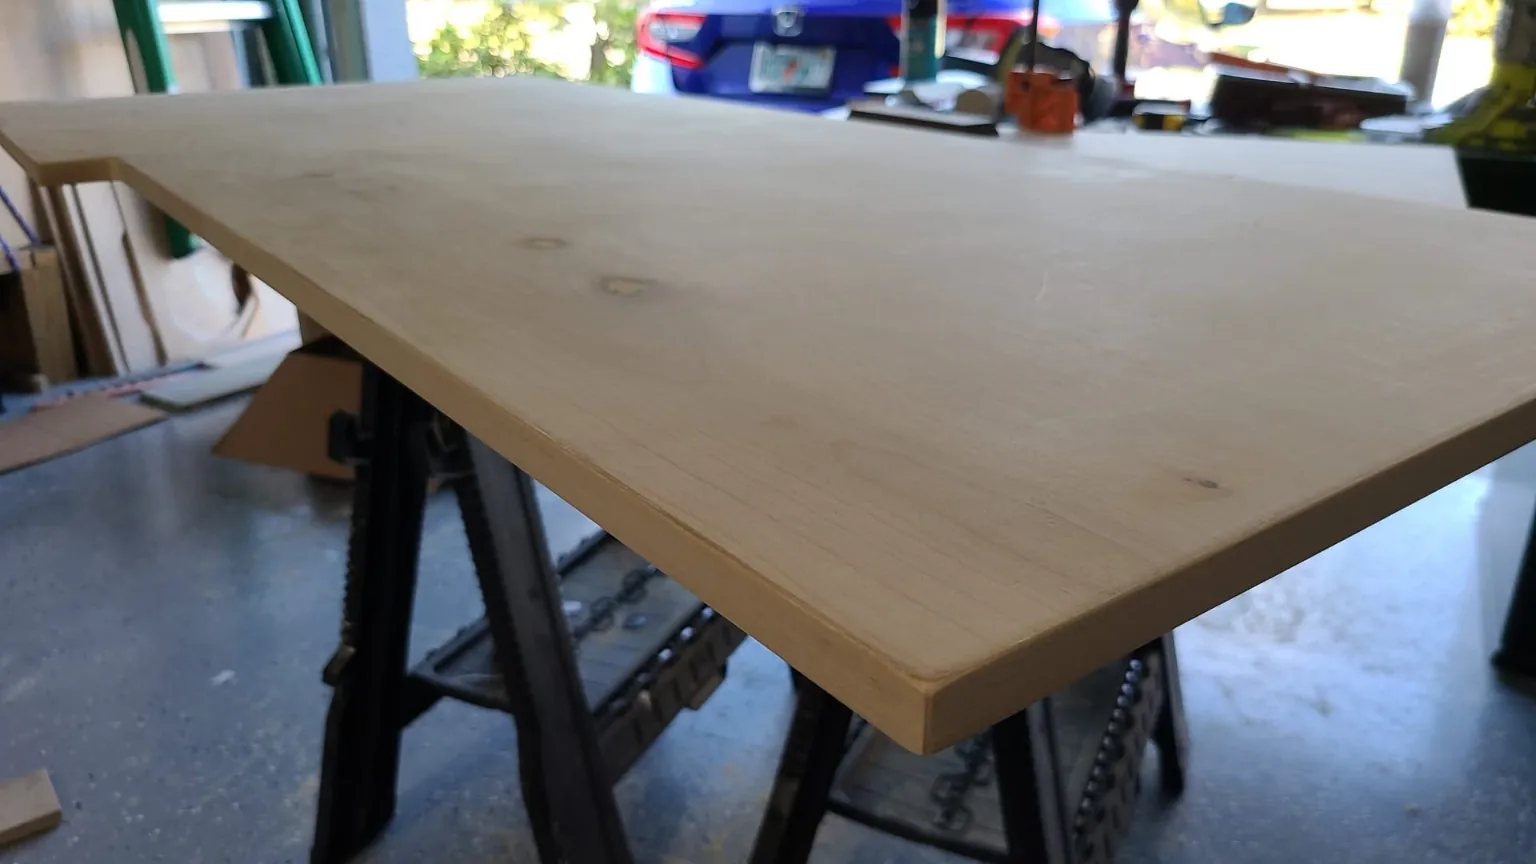
I chose a darker stain that would contrast with the light walls but still let the wood grain and knots show through. The photos document the appearance of the result; I still need to confirm the exact stain color, finish schedule, and whether any separate protective clear coat was used before treating those as reproducible instructions.
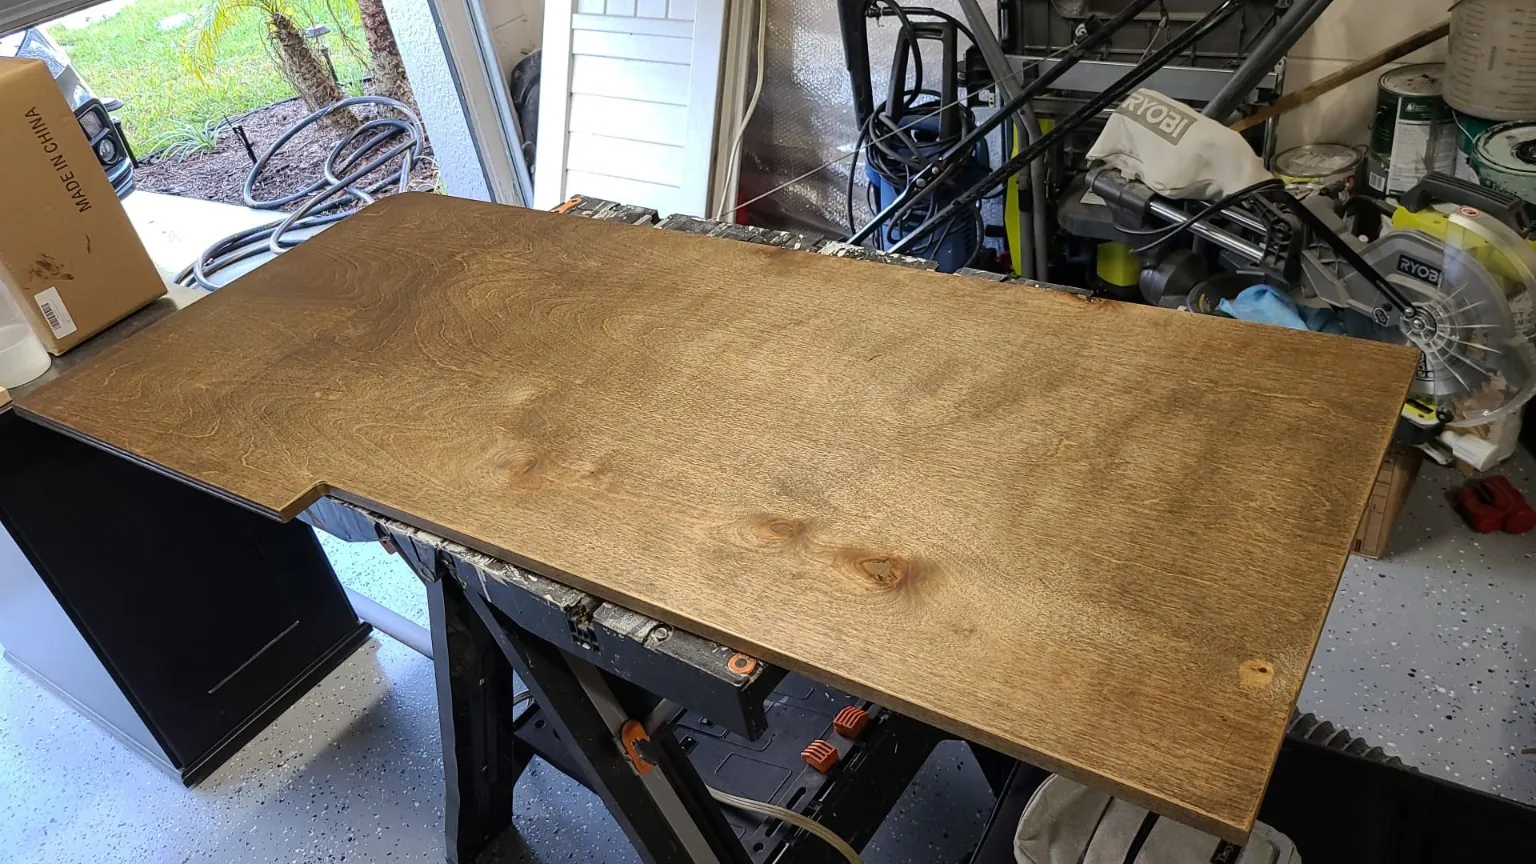
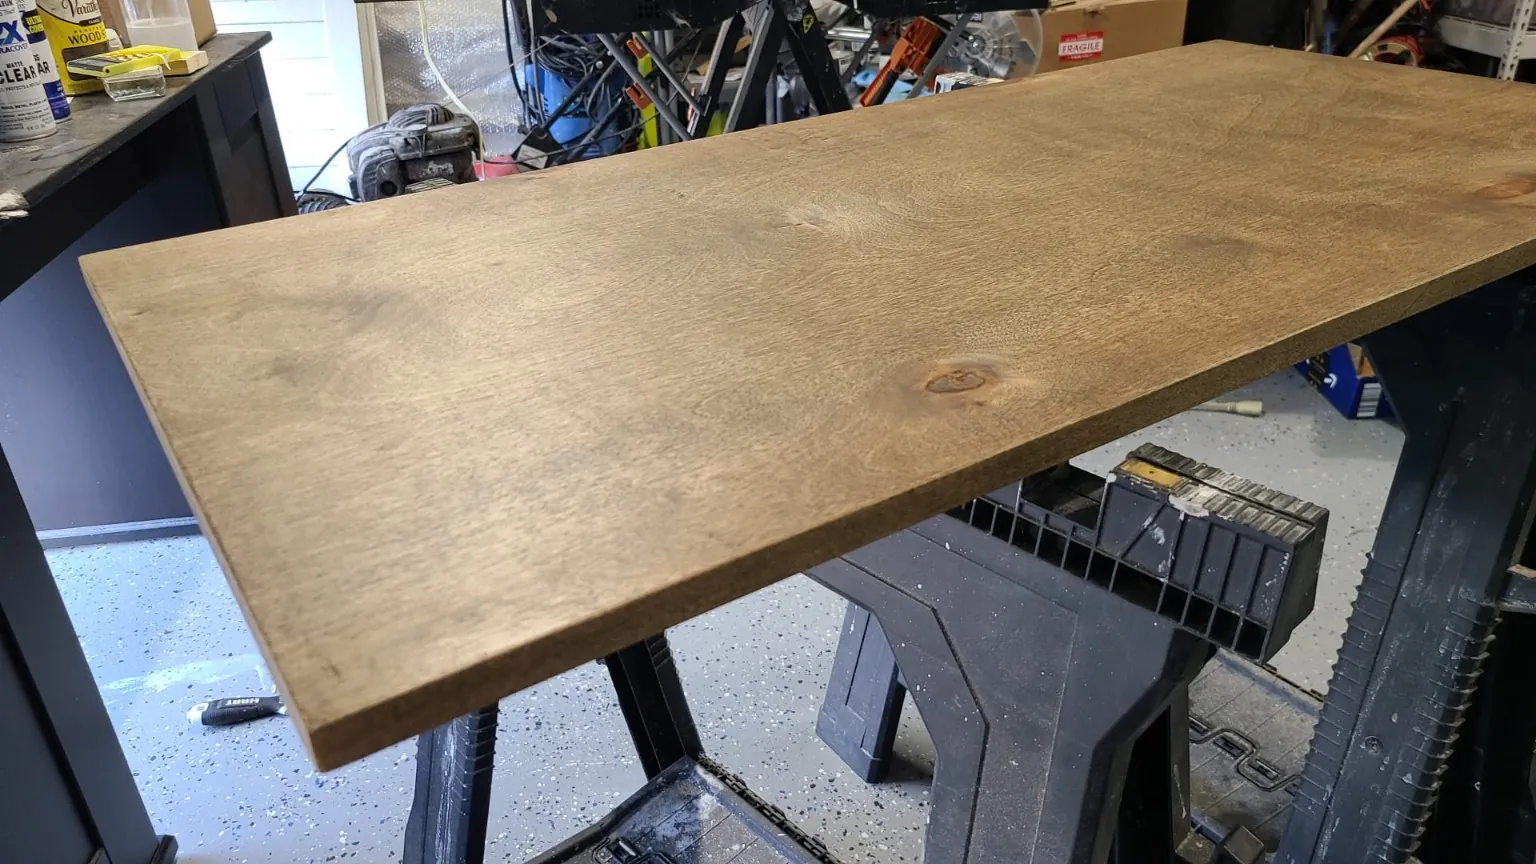
How the wall mounting actually works
The main structural detail is the 1×6 ledger-and-bracket arrangement. Rather than fastening every bracket independently through drywall, I first screwed solid-wood 1×6 backing boards directly into the wall studs. The metal L-brackets are secured to those backing boards.
The tops of the L-brackets are flush with the tops of the 1×6 boards. With the plywood removed, the wooden ledger and the brackets create one level bearing plane: the back of the plywood sits over the 1×6, and the projecting bracket arms support it farther out from the wall.
After setting the top in place, I screwed upward through the L-brackets into the underside of the ¾-inch birch plywood. The top surface has no visible bracket fasteners. The finished desk therefore looks like it floats even though its load is carried by the wood backing, brackets, and stud fasteners.
Support path
These images show the mounted top and the bracketed underside, but not every fastener or the unobstructed ledger. I'm planning to photograph the hardware directly when I remove the desktop to repaint the room. Until then, treat this as a documented account of this build, not a complete bracket-spacing or fastener-sizing plan.
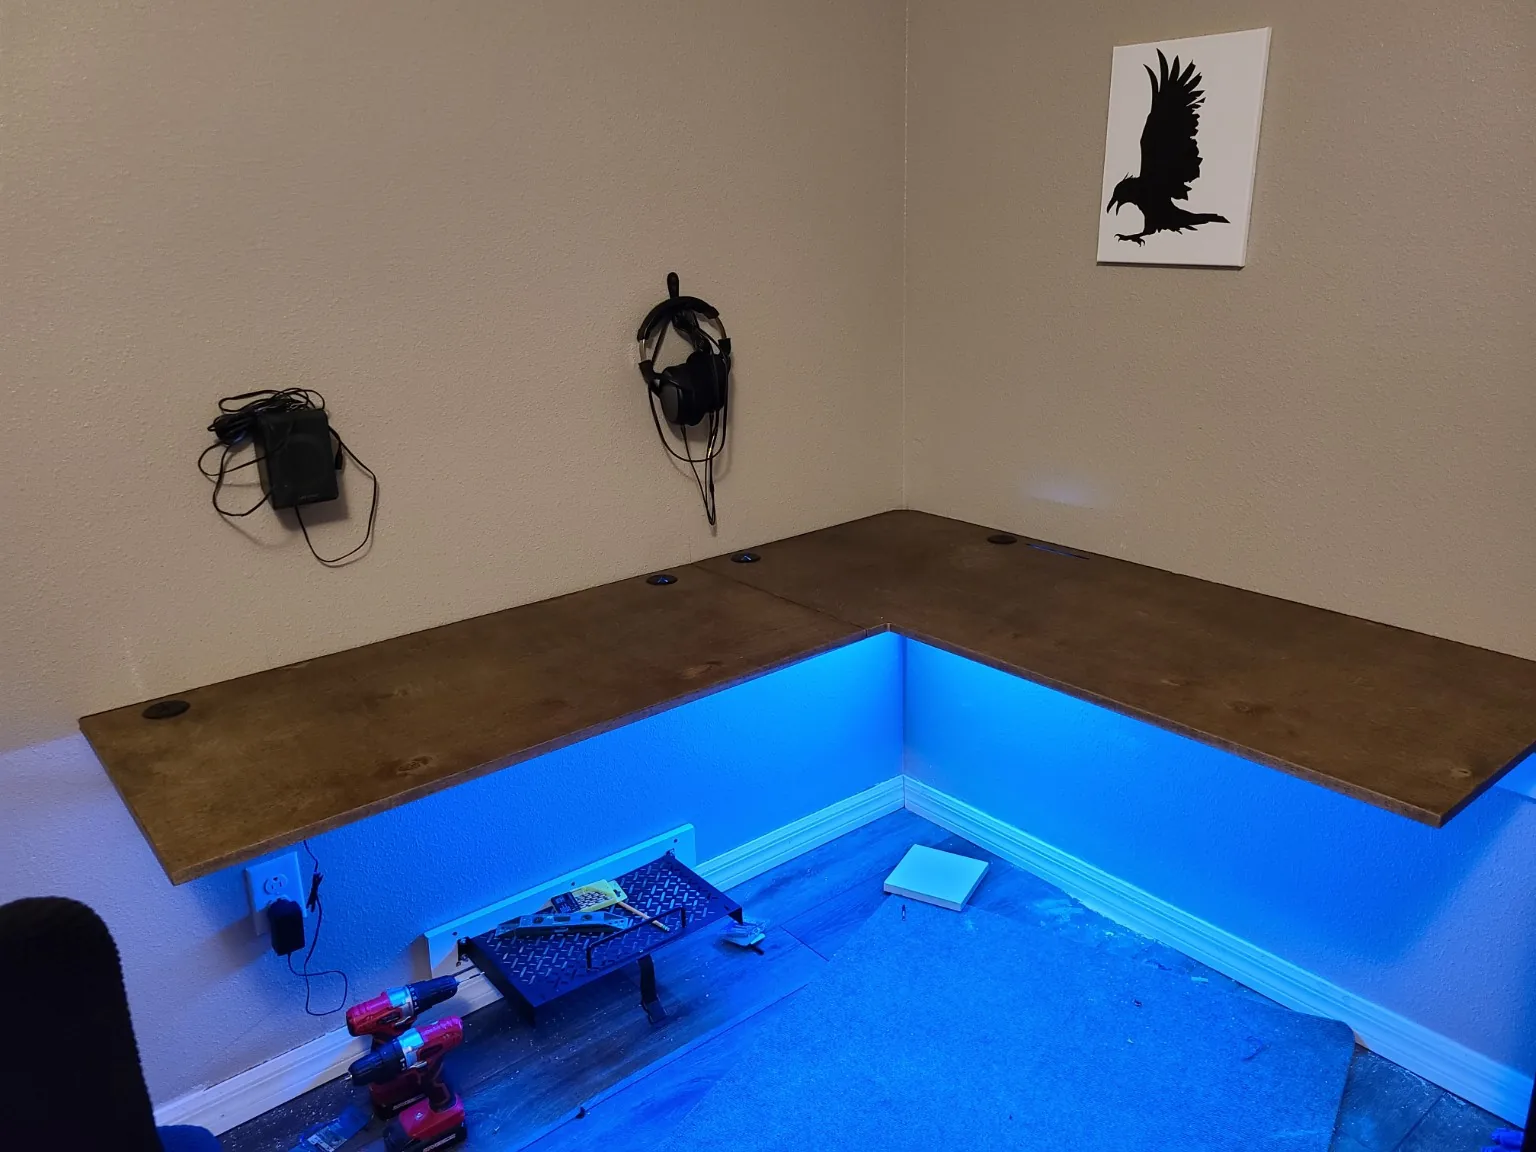
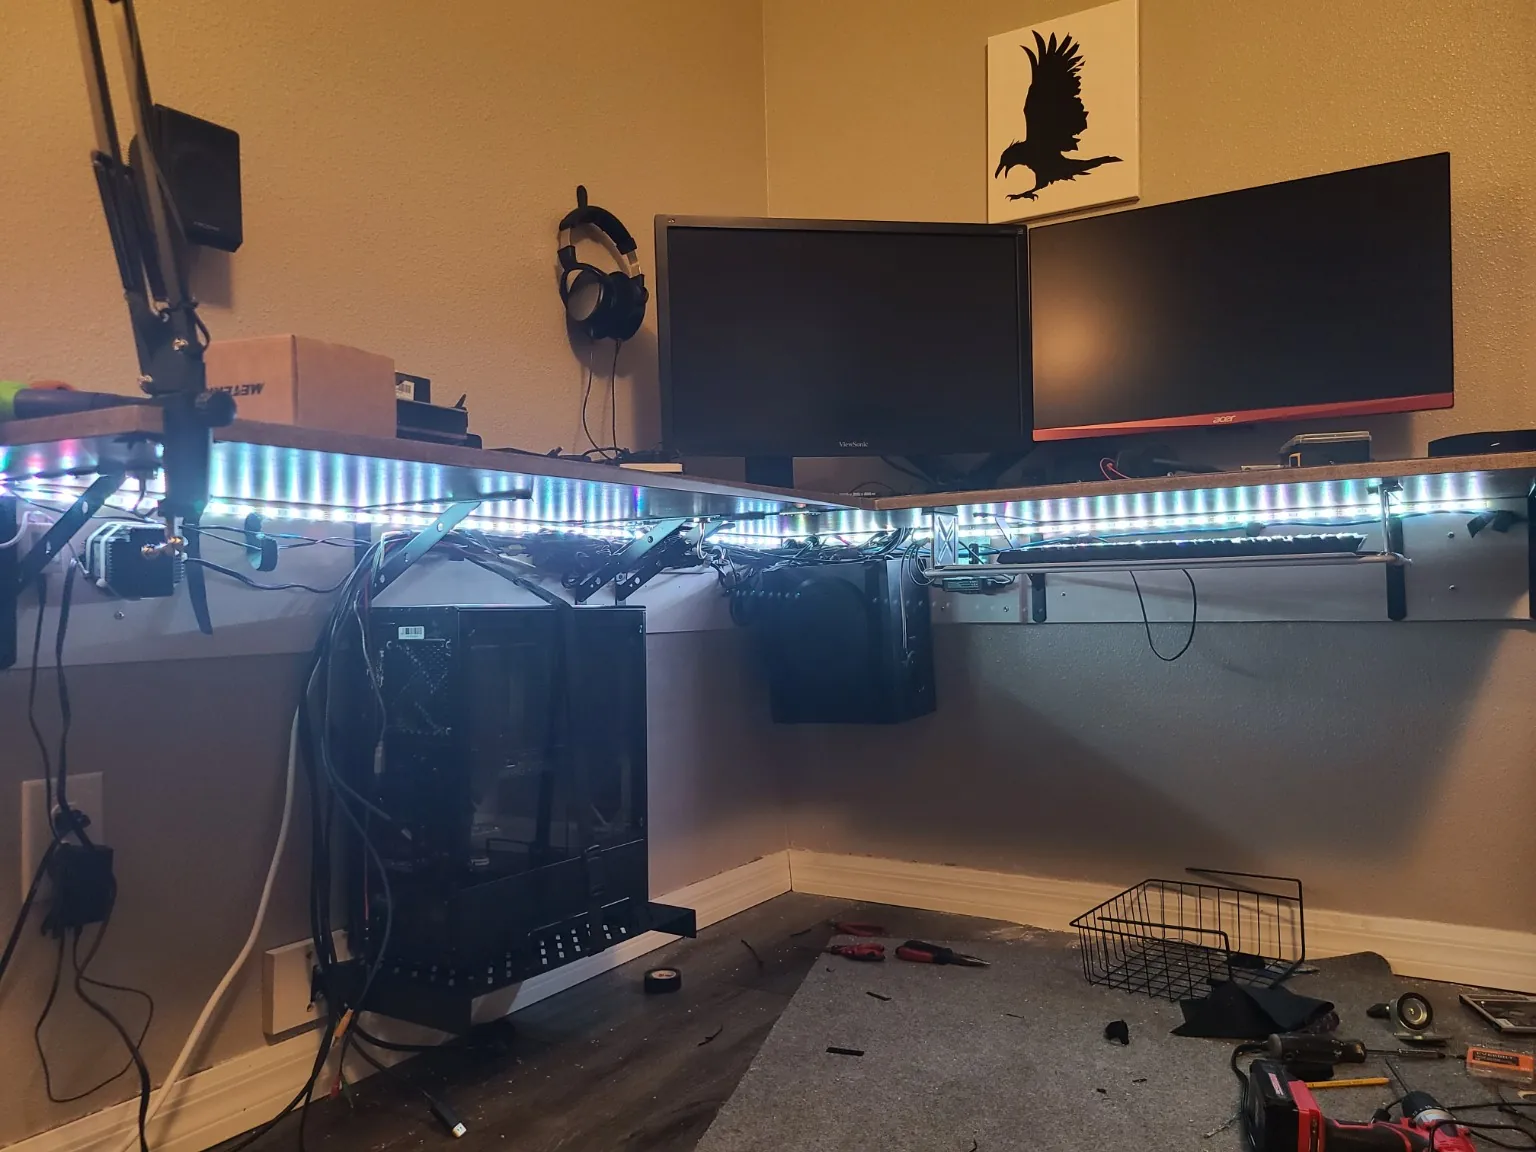
For anyone planning a similar build, the number and size of the brackets, stud fastening, span, weight distribution, and any wall conditions must be determined for your loads. Drywall alone is not a suitable structural anchoring point for a desktop of this kind.
Load test: what 75 pounds tells us and what it doesn't
After mounting the top, I placed 75 pounds of weights on the desk as a practical check. It did not visibly move or deflect under that test.
That was reassuring for the build, but it's not a published safe working load. Static weights in one position do not simulate someone leaning on the outer edge, impact loads, dynamic movement, or long-term fastener performance. I'm deliberately not presenting it as a 75-pound rating or using it to claim a higher one.
Build cable routing into the desk
Cutting the pass-throughs before final assembly made the rest of the workspace easier to manage. I added round cable grommets and a long narrow slot that lets cables exit without draping them over a desk edge.
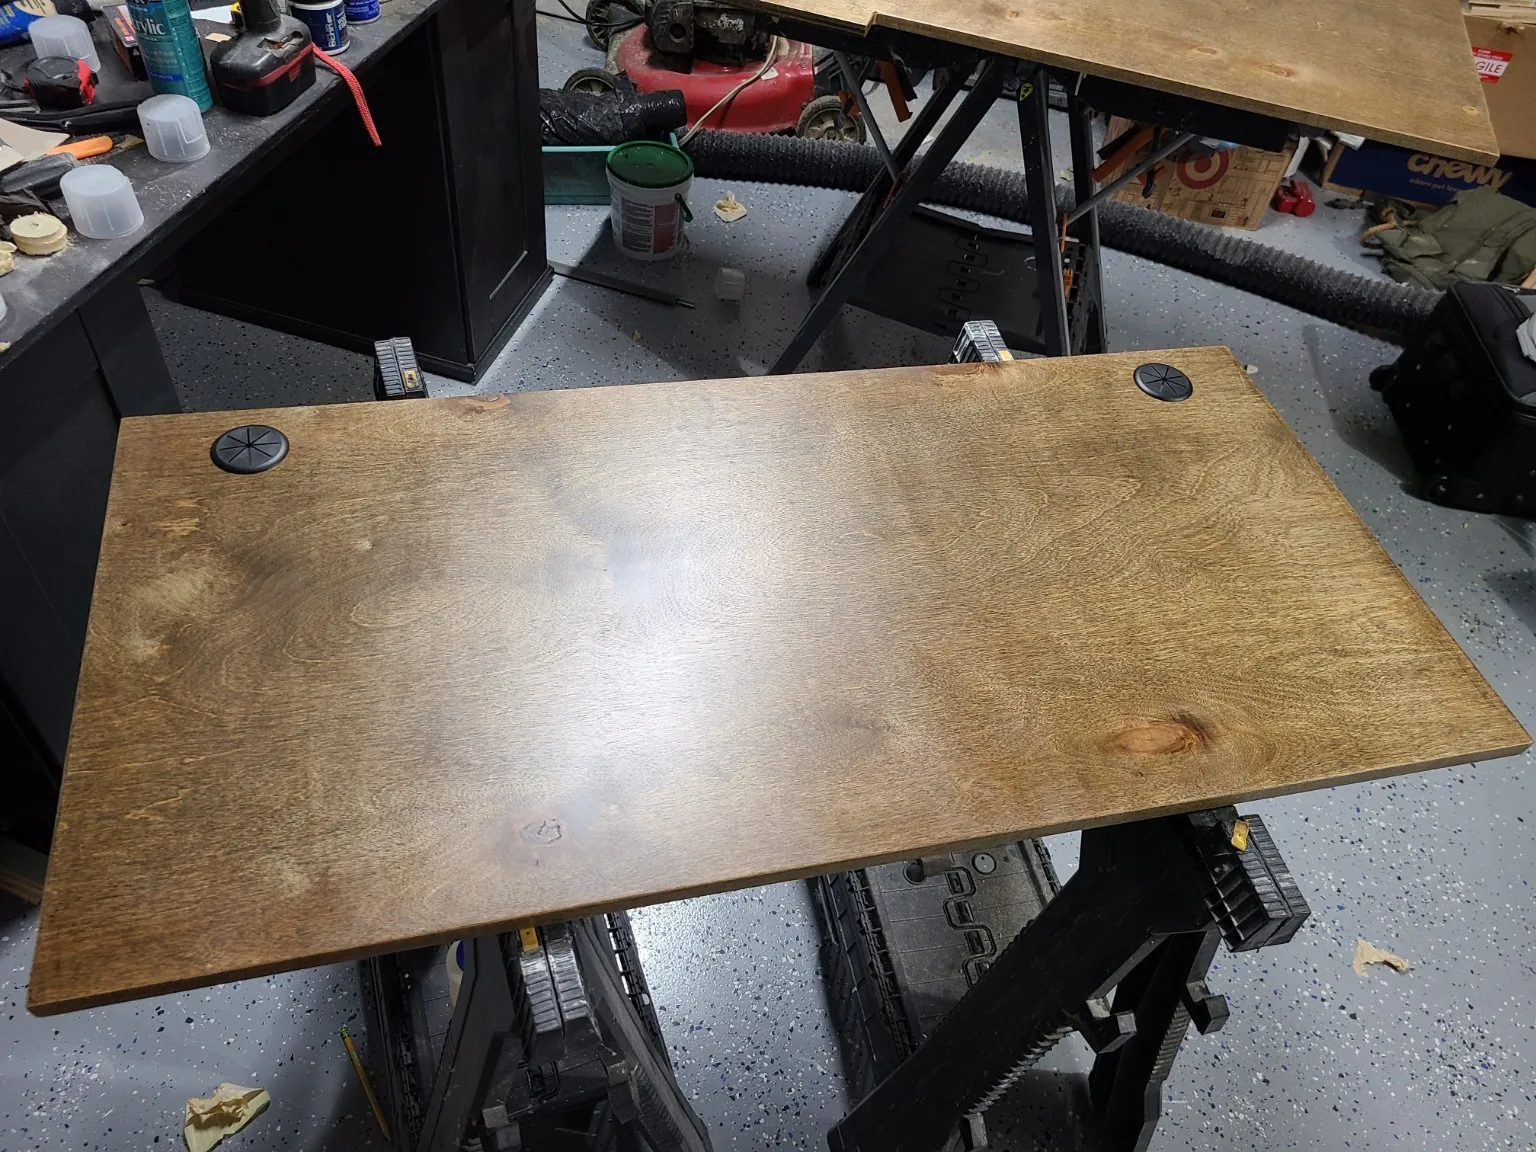
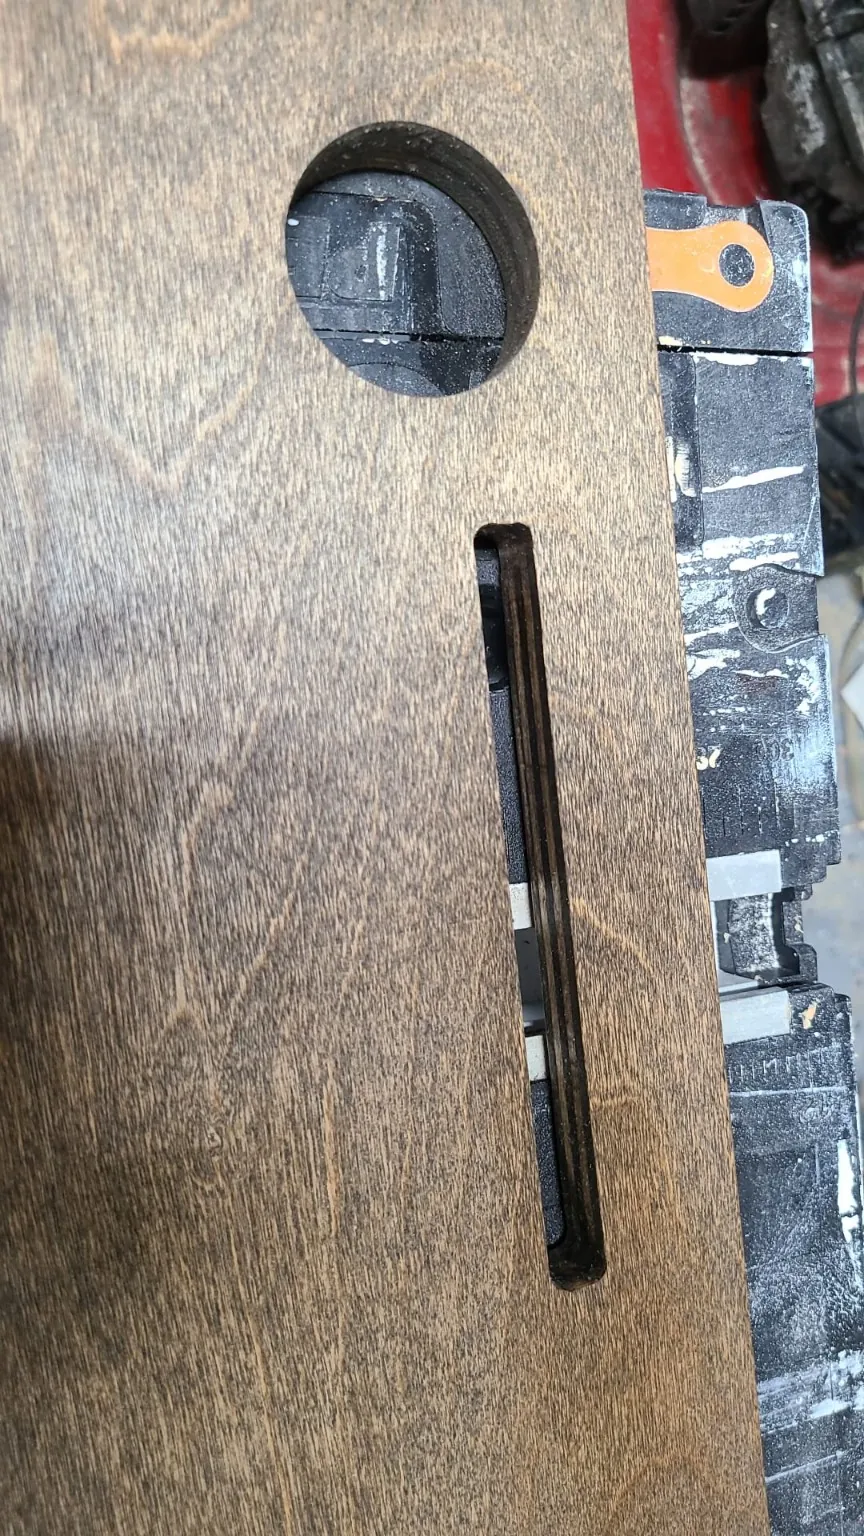
Under the desk, I placed the computer case on a suspended mount and added lighting along the underside. That frees desktop space and contributes to the floating appearance. It also means checking cable slack, bracket clearance, ventilation, and accessibility before everything is tied down.
The finished setup
Once the monitors, audio accessories, and under-desk hardware were installed, the corner became a full workstation rather than just an attractive wood surface. The dark stained top and lighter walls keep it visually separate, while the open space below avoids the footprint of a conventional desk frame.
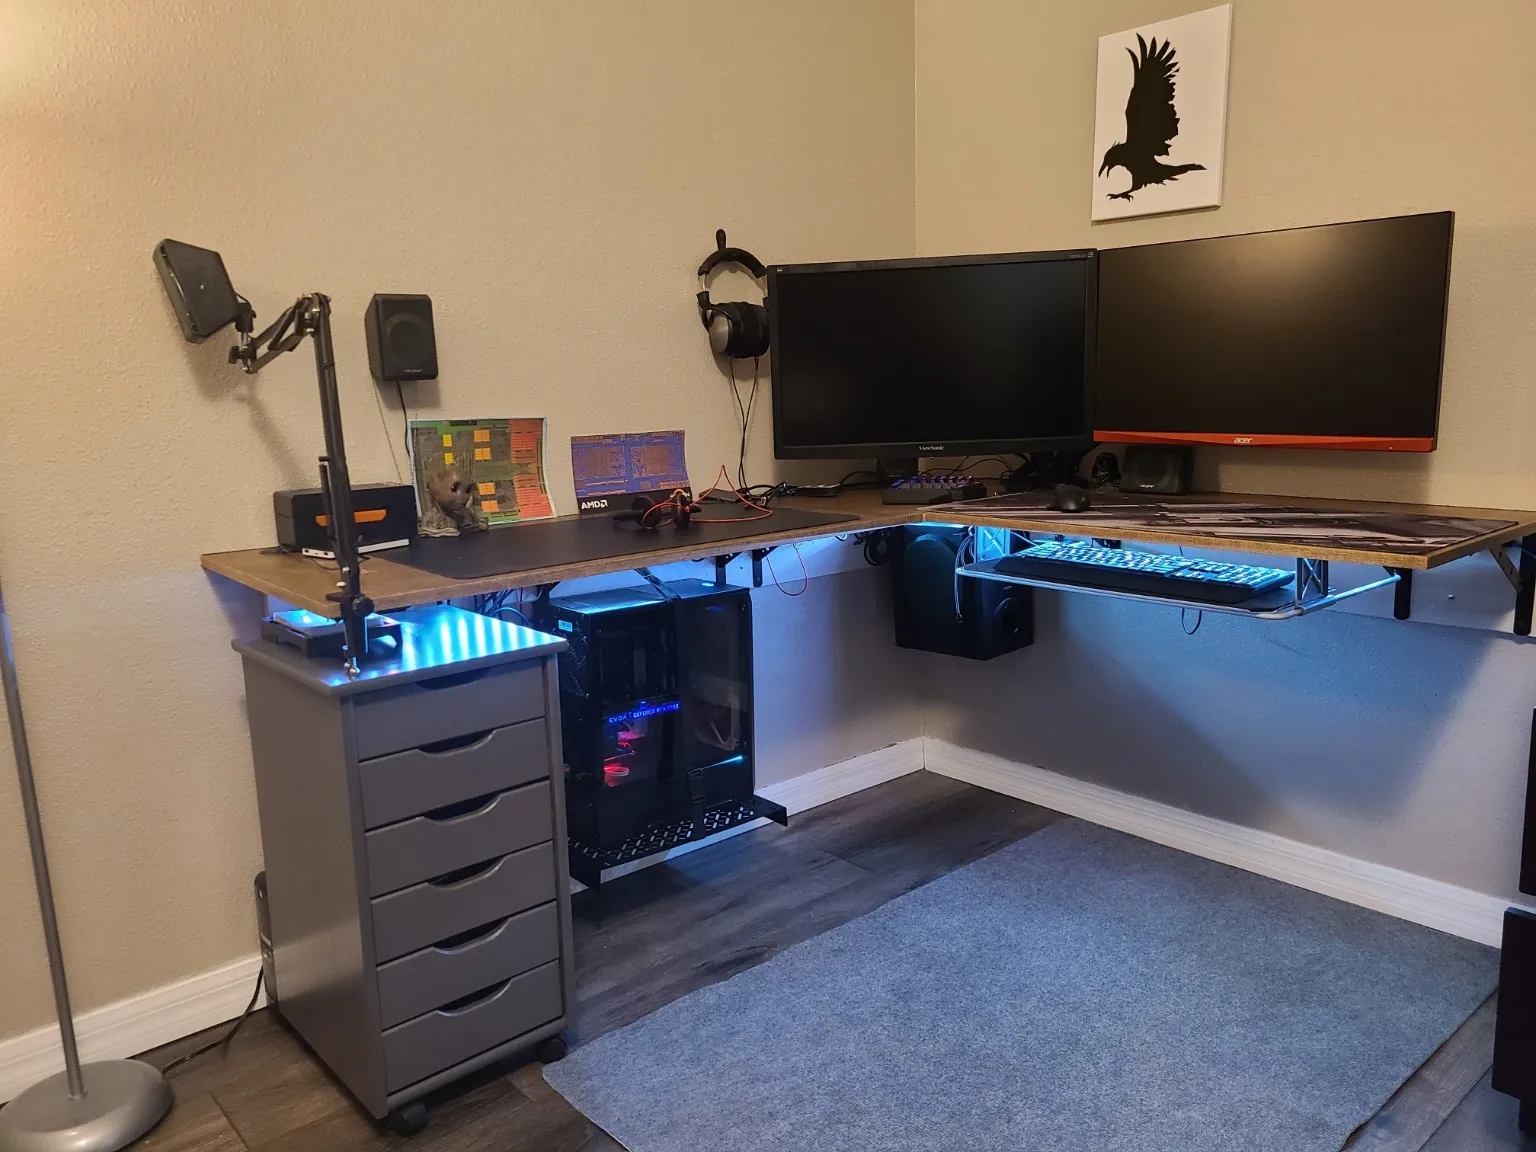
If I had to repeat the project, I'd again design the desk around the wall supports and cable exits before choosing monitor and peripheral positions. The fact that the top can be removed for repainting is also useful: it lets me document the hidden bracket arrangement properly.
Coming next: a closer look at the mounting
When the desk comes down for the room repaint, I plan to photograph the bare 1×6 ledger, the flush bracket alignment, attachment points at the studs, and the underside fasteners. Those views will make the build more useful to anyone evaluating a similar design.
- Exposed wooden ledger along each wall
- Close-up from the side: ledger top flush with bracket top
- How the L-brackets are fastened to the 1×6
- Stud locations and actual screw/bolt spacing
- Underside fasteners securing plywood to the brackets