
What you will set up
Nginx Proxy Manager runs a reverse proxy and provides a browser-based admin page for managing proxy hosts and certificates. This guide deploys it as a Compose application in QNAP Container Station 3.
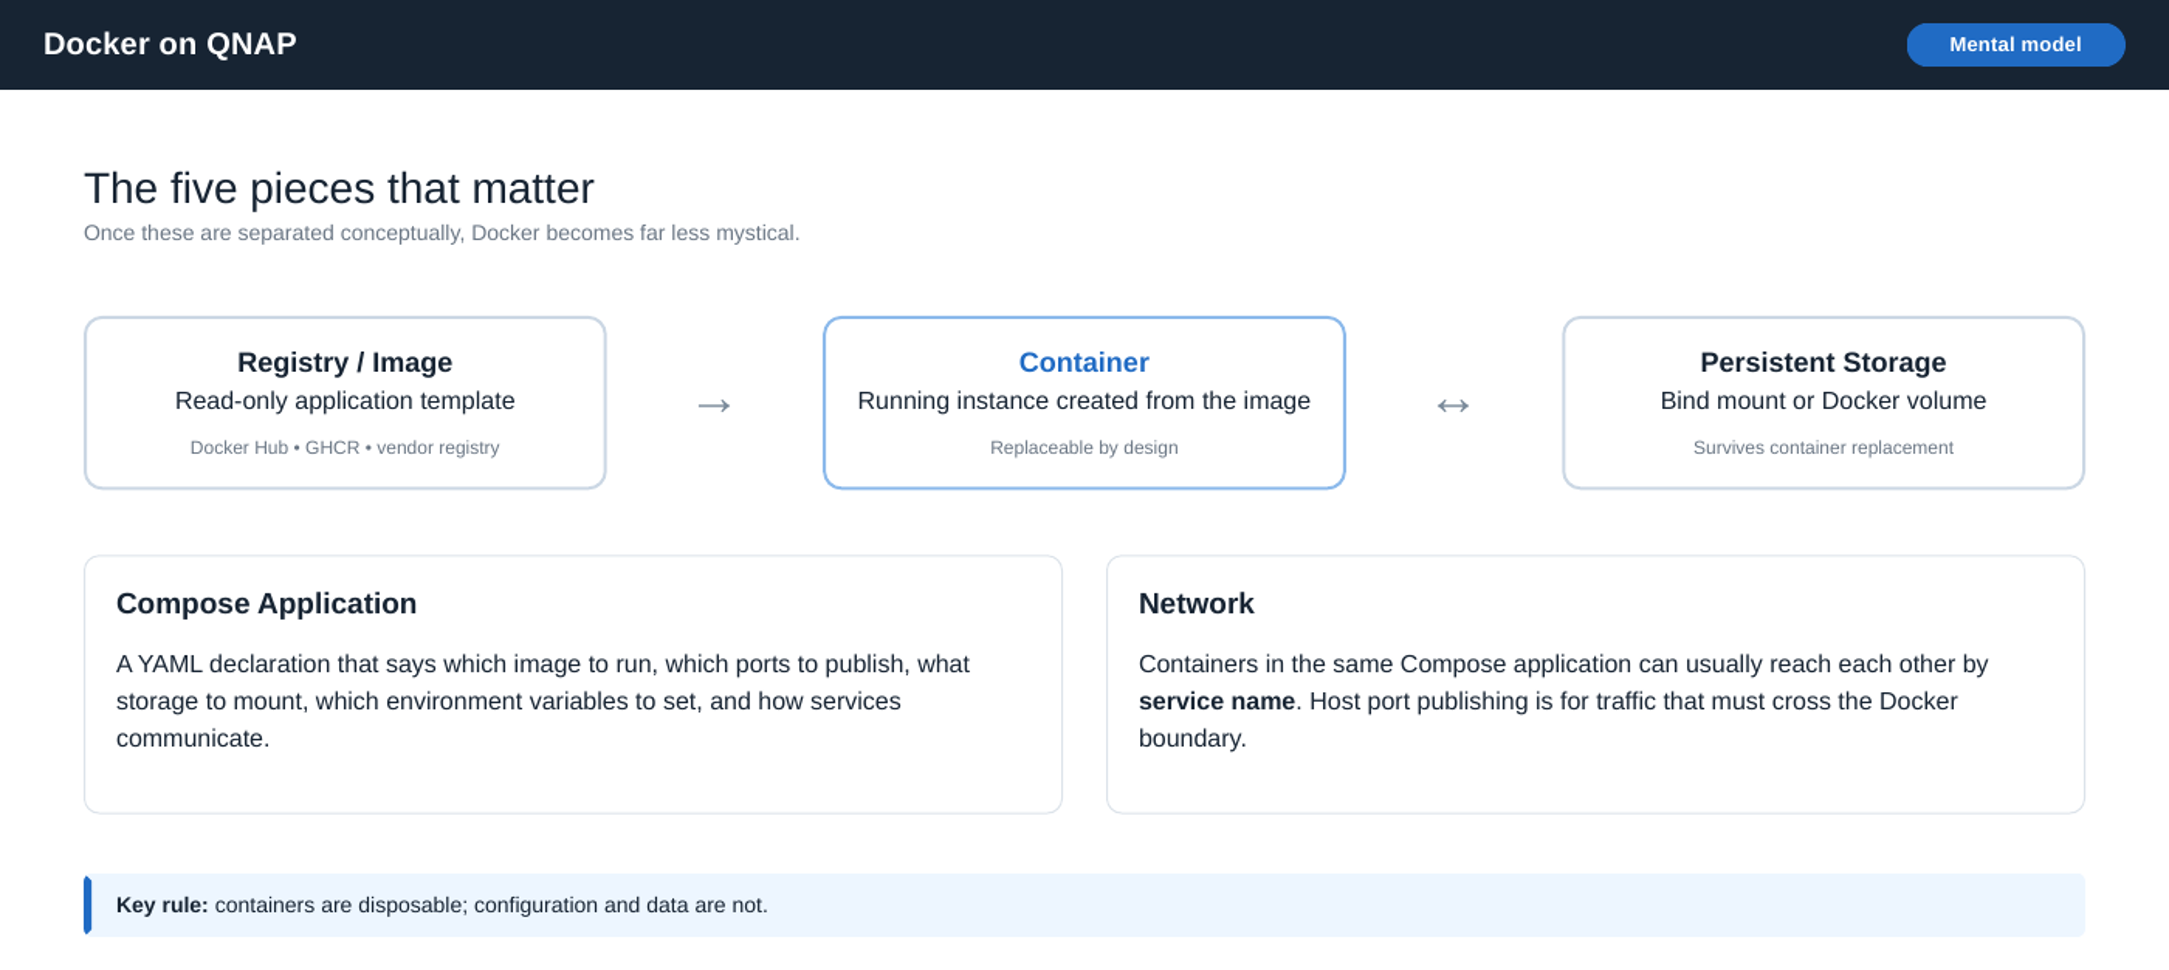
For Docker terminology, storage planning and maintenance, use Docker applications on QNAP. This article keeps the Nginx setup in one place.
Before you start
- A supported QNAP with Container Station 3 and administrator access.
- An amd64 or arm64 NAS supported by the chosen Nginx Proxy Manager image. Check the vendor documentation for other architectures.
- Three unused NAS host ports. This example uses 48080 for HTTP, 48081 for administration and 48443 for HTTPS.
- A stable NAS LAN address and folders you can back up.
For public access you also need a domain, appropriate DNS records and a reachable public connection. You can deploy the application and check the admin page locally before configuring those.
Create the persistent folders
In File Station, create these folders under your Containers shared folder. If your share has another name, change both host paths in the YAML to match it.
/share/Containers/NginxProxyManager/data
/share/Containers/NginxProxyManager/letsencrypt
The data folder holds application configuration and its default database. The letsencrypt folder holds certificate files. Back up both, along with your Compose YAML. Confirm the container can write to them; do not change permissions broadly to work around an unexplained error.
Create the Compose application
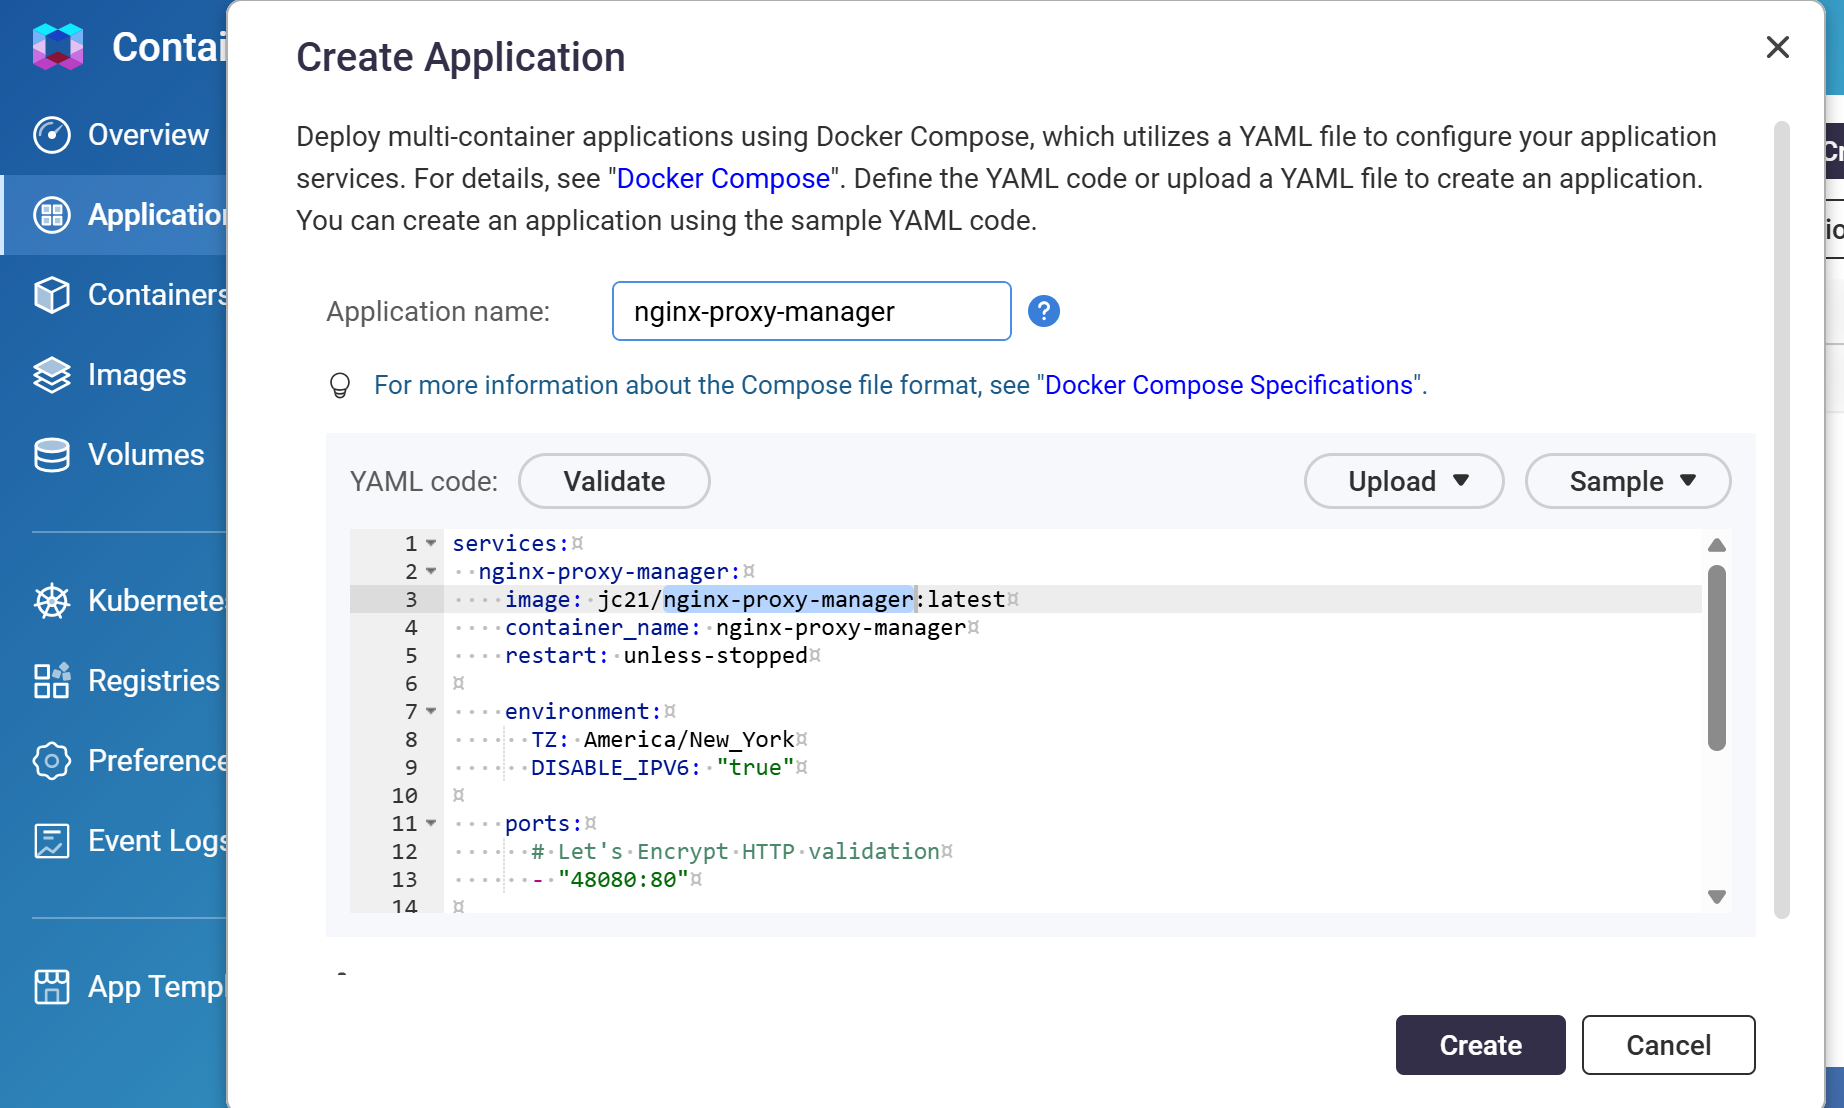
- Open Container Station and select Applications.
- Choose Create and name the application nginx-proxy-manager.
- Paste the YAML below, adjust the paths and timezone, and check that the host ports are free.
- Choose Validate, then Create. Review the application and container logs.
services:
  nginx-proxy-manager:
    image: jc21/nginx-proxy-manager:2.16.0
    restart: unless-stopped
    environment:
      TZ: America/New_York
      # Enable only if IPv6 is unavailable on your host:
      # DISABLE_IPV6: "true"
    ports:
      - "48080:80"    # HTTP traffic to the proxy
      - "48081:81"    # Admin page: LAN/VPN only
      - "48443:443"   # HTTPS traffic to the proxy
    volumes:
      - /share/Containers/NginxProxyManager/data:/data
      - /share/Containers/NginxProxyManager/letsencrypt:/etc/letsencrypt
Download the Compose example. This uses version 2.16.0 shown in the vendor setup documentation checked for this article. Review current release notes and NAS architecture support before deploying. No database container is needed for this default SQLite setup.
Only enable DISABLE_IPV6 if IPv6 is unavailable on your host. The mapped ports differ from the container ports to avoid common QNAP port conflicts.
Open and secure the admin page
From a computer on your LAN, open http://NAS-LAN-IP:48081, replacing NAS-LAN-IP with your NAS address. Give the application time to initialize its data, then follow the first-login or account setup instructions for your chosen version.
Set your own strong credentials before configuring access to other services. The administrative page is container port 81, mapped here to NAS port 48081. Keep it on the LAN or behind a trusted VPN; do not forward this port from your router.
These Compose mappings listen on the host interfaces by default. Use your NAS firewall to restrict administrative access to trusted clients, or bind the admin mapping to an appropriate LAN address. A high port number does not provide access control.
Add a proxy host
First confirm that Nginx Proxy Manager can reach the application you want to proxy. For a service on the same Docker network, use that service name and its container port. For a service on another application network, use a deliberately shared network or its published port and NAS LAN address. Do not use localhost to mean the NAS.
- In the Nginx Proxy Manager admin page, open Proxy Hosts and add a host.
- Enter the hostname visitors will use.
- Select the upstream HTTP or HTTPS scheme and enter the reachable application hostname or LAN address and port.
- Enable WebSocket support if the application requires it. Follow its documentation for proxy-specific headers, trusted proxies and other settings.
- Save and test the hostname. Keep the application's own authentication enabled.
This hostname must resolve to the proxy from the client doing the test. For LAN-only use, configure suitable local DNS. Adding a proxy host does not create a DNS record or publish your router ports.
DNS, router ports and HTTPS
For public access, point the application hostname at your reachable public address and route public TCP 80 to NAS port 48080 and public TCP 443 to NAS port 48443. Those reach container ports 80 and 443. Never route public traffic to the admin mapping.
HTTP certificate validation uses public port 80; publishing some other public port does not substitute for it. A DNS challenge is a separate option that requires a supported DNS provider and credentials. CGNAT, ISP restrictions, IPv6 routing and split DNS can change what is reachable.
In the proxy host's SSL settings, request or select the appropriate certificate. Enable HTTPS redirects after the certificate and routing work. TLS protects the connection, but it does not replace application login, updates or access restrictions. Keep QNAP and Container Station management interfaces private.
Verify and maintain the setup
- Check startup logs and confirm the admin page opens from a trusted LAN client.
- Confirm each proxy hostname reaches the intended application and that login still works.
- If public access is intended, test from outside your LAN and check the HTTPS certificate.
- Verify that the admin port is not reachable publicly.
- Back up the YAML, data and letsencrypt folders, using a consistent stopped copy or the application's supported backup process.
For updates, pull the intended image, recreate the application and verify the result. See the Docker update and backup reference. A restart alone does not install a new image.
If the proxy responds but the upstream fails, check the target scheme, address, port, Docker network and application logs before changing router rules.